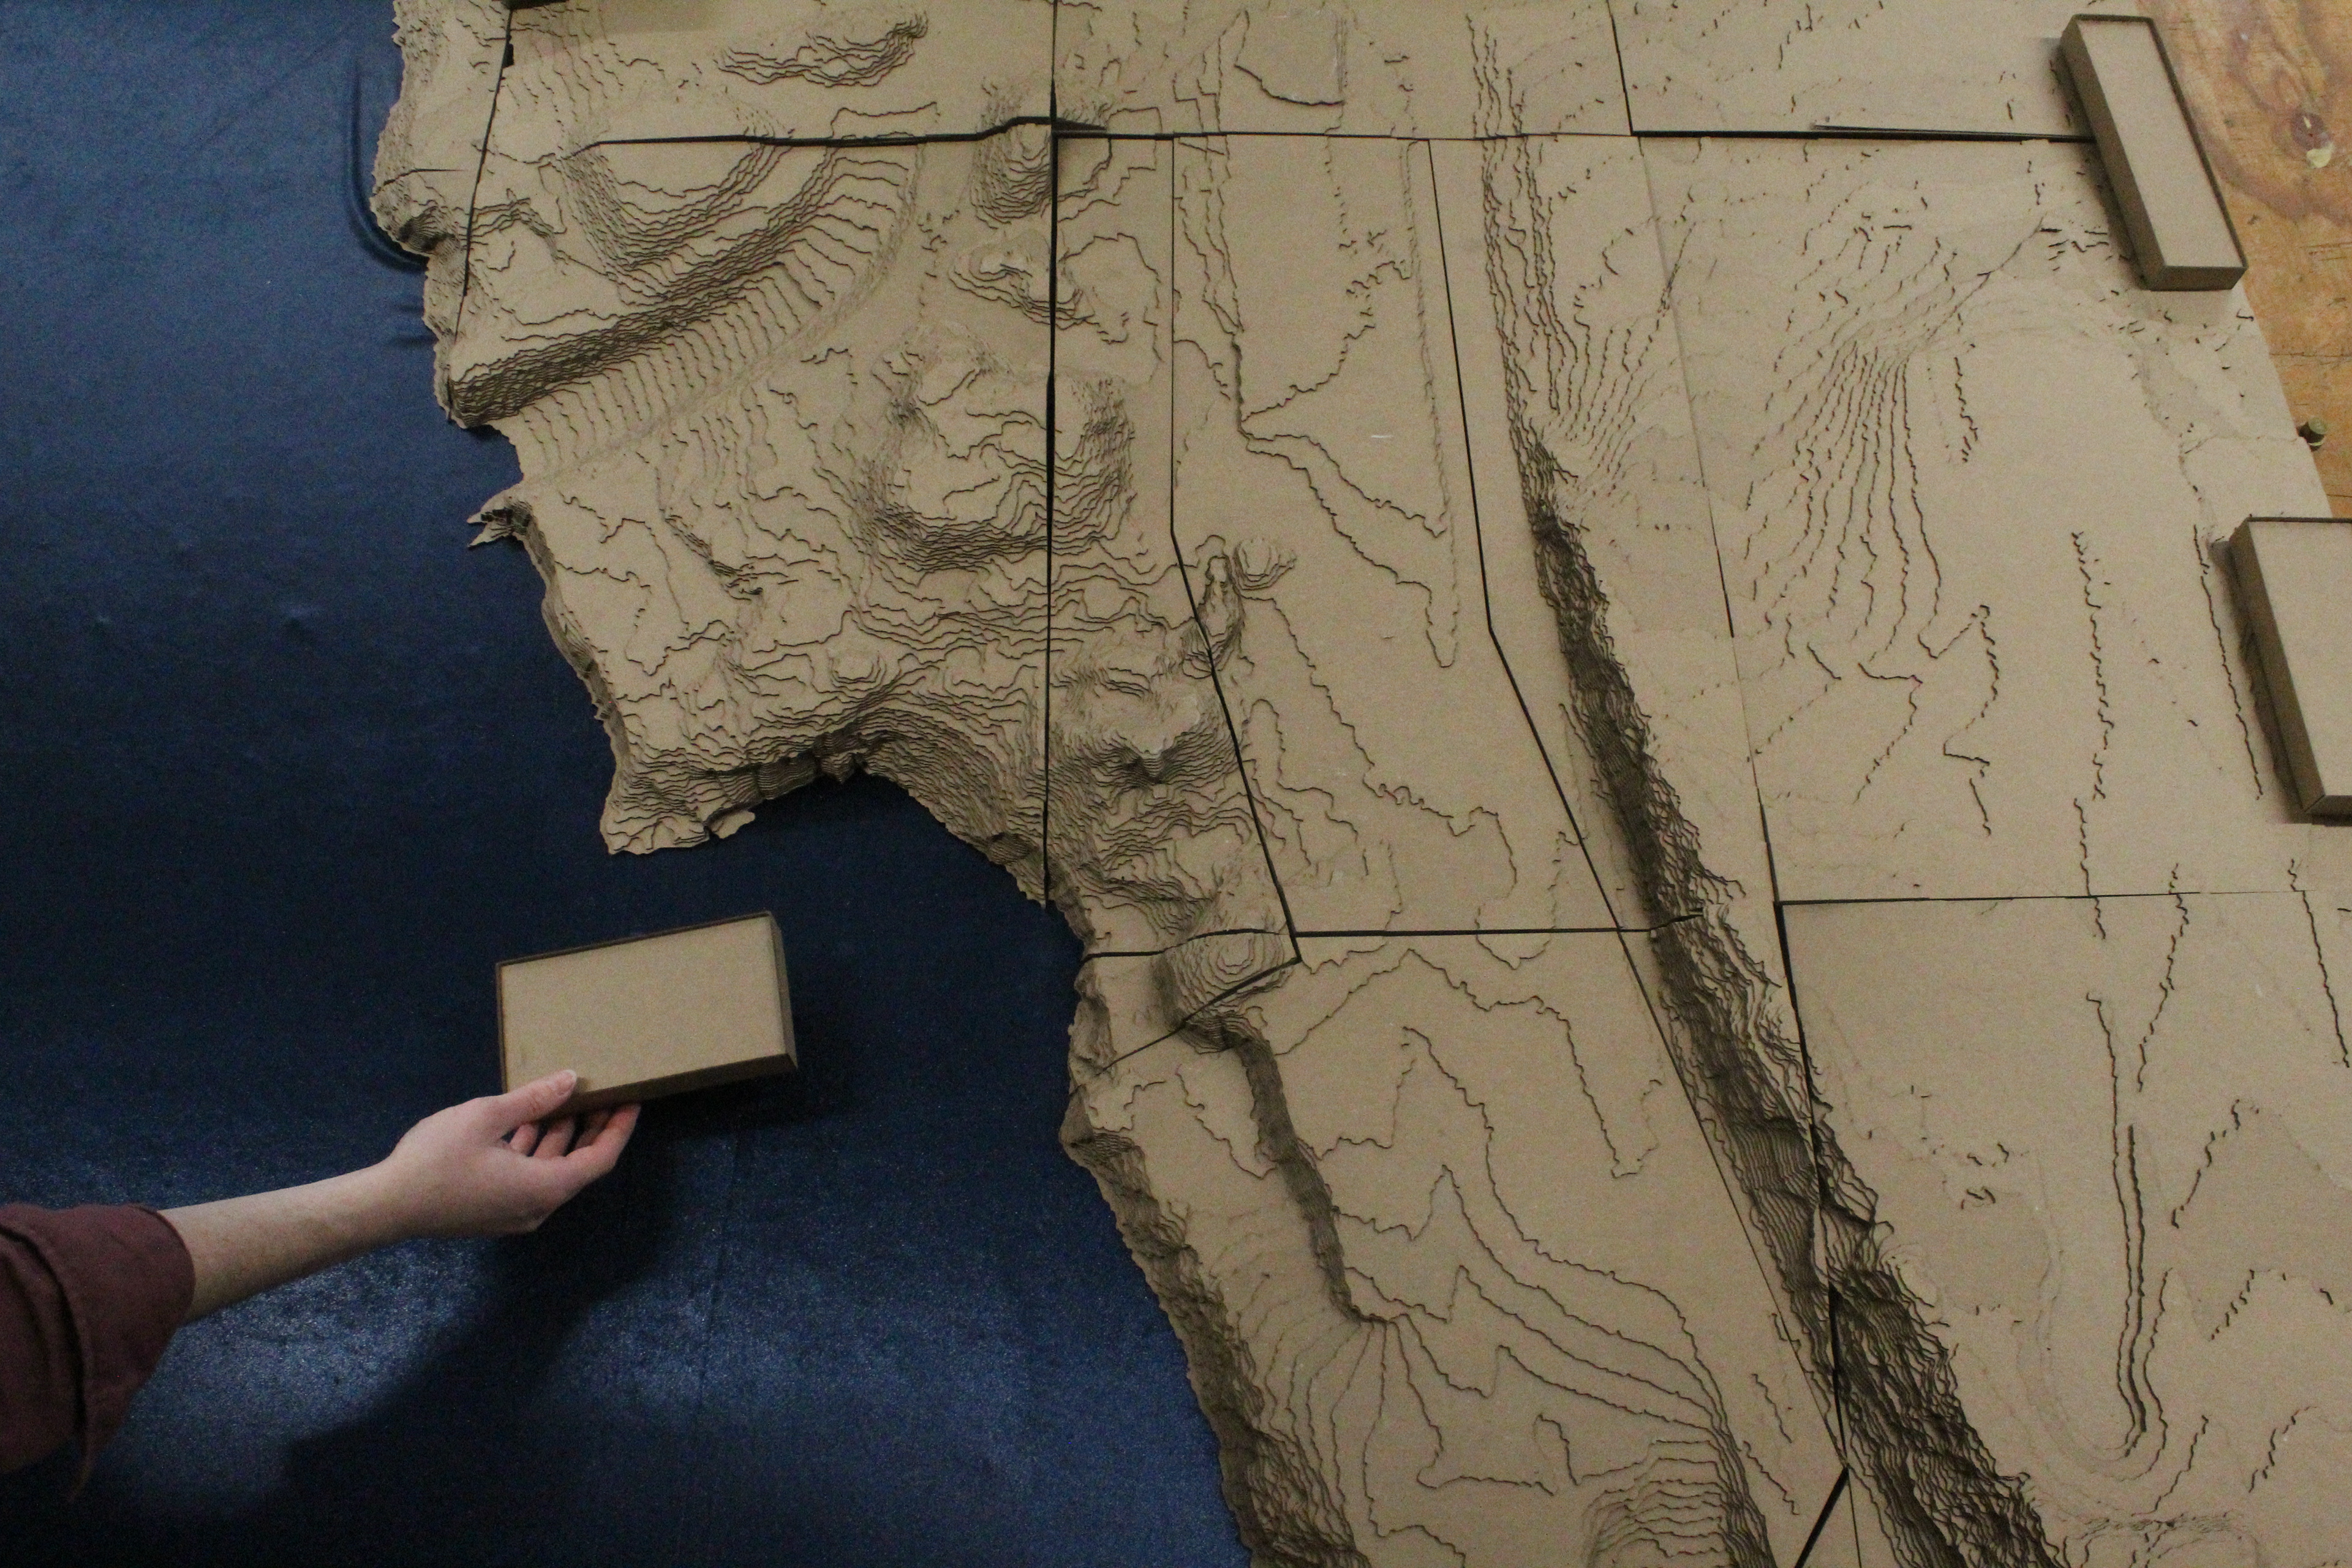
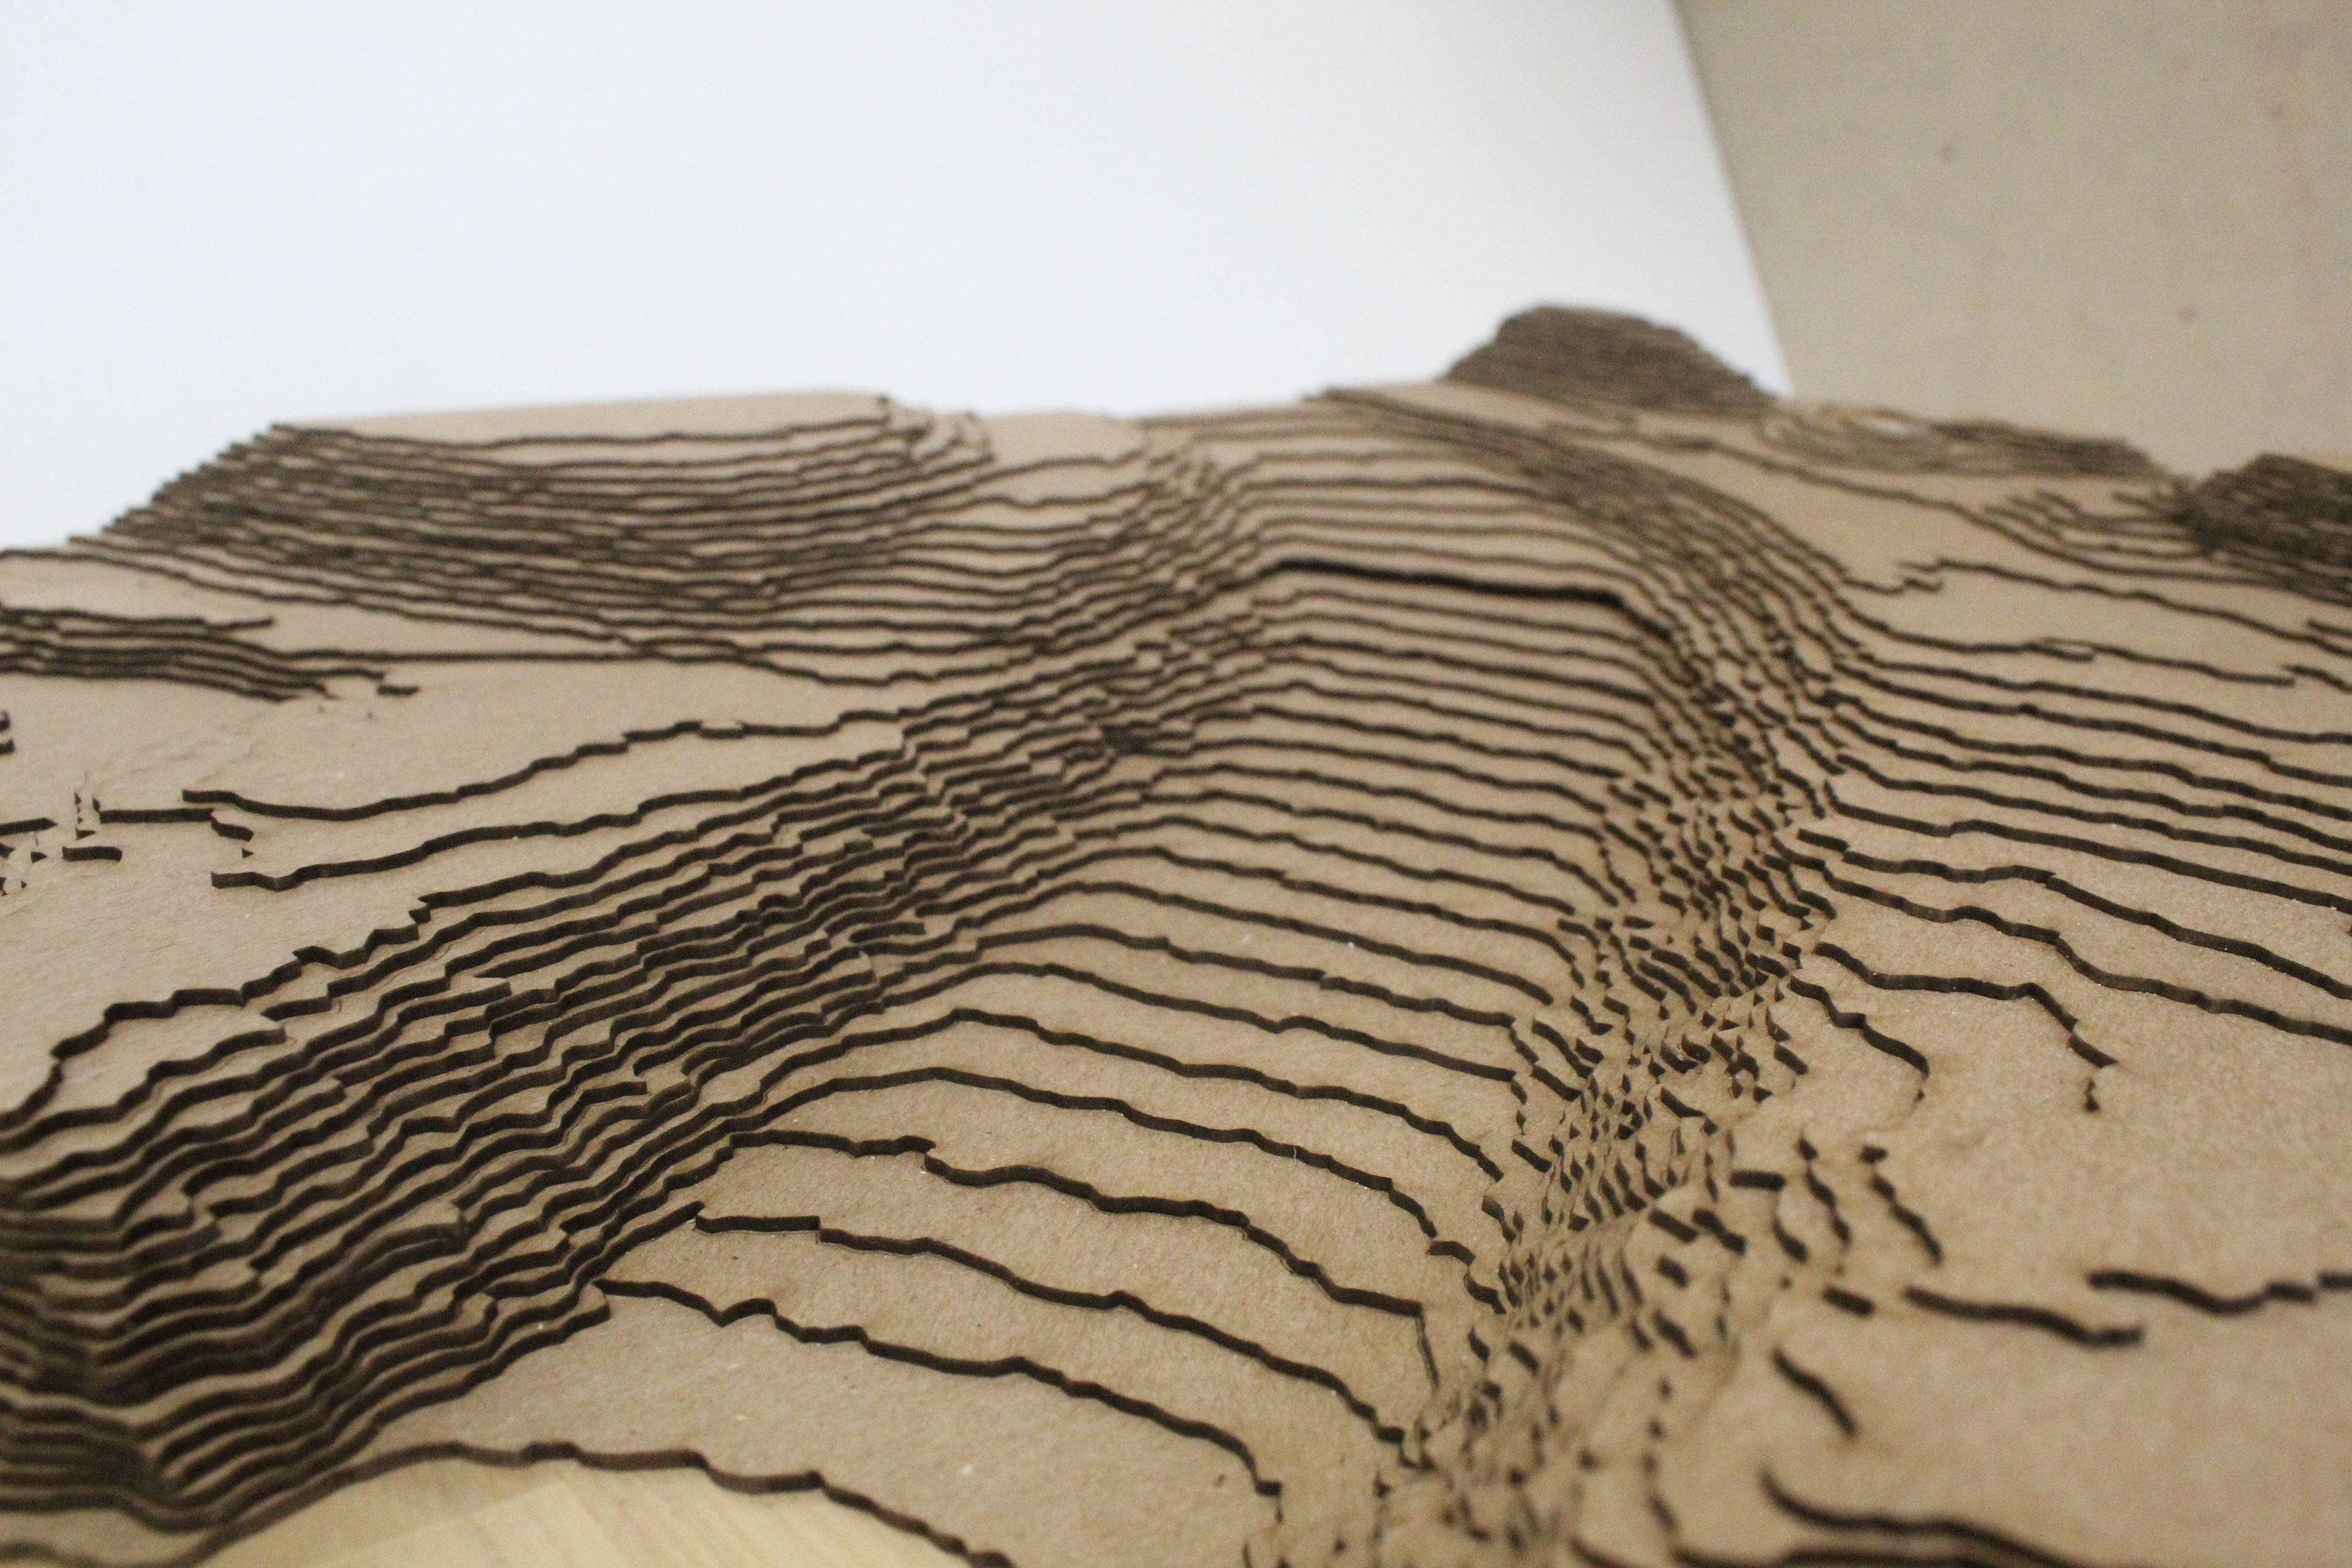
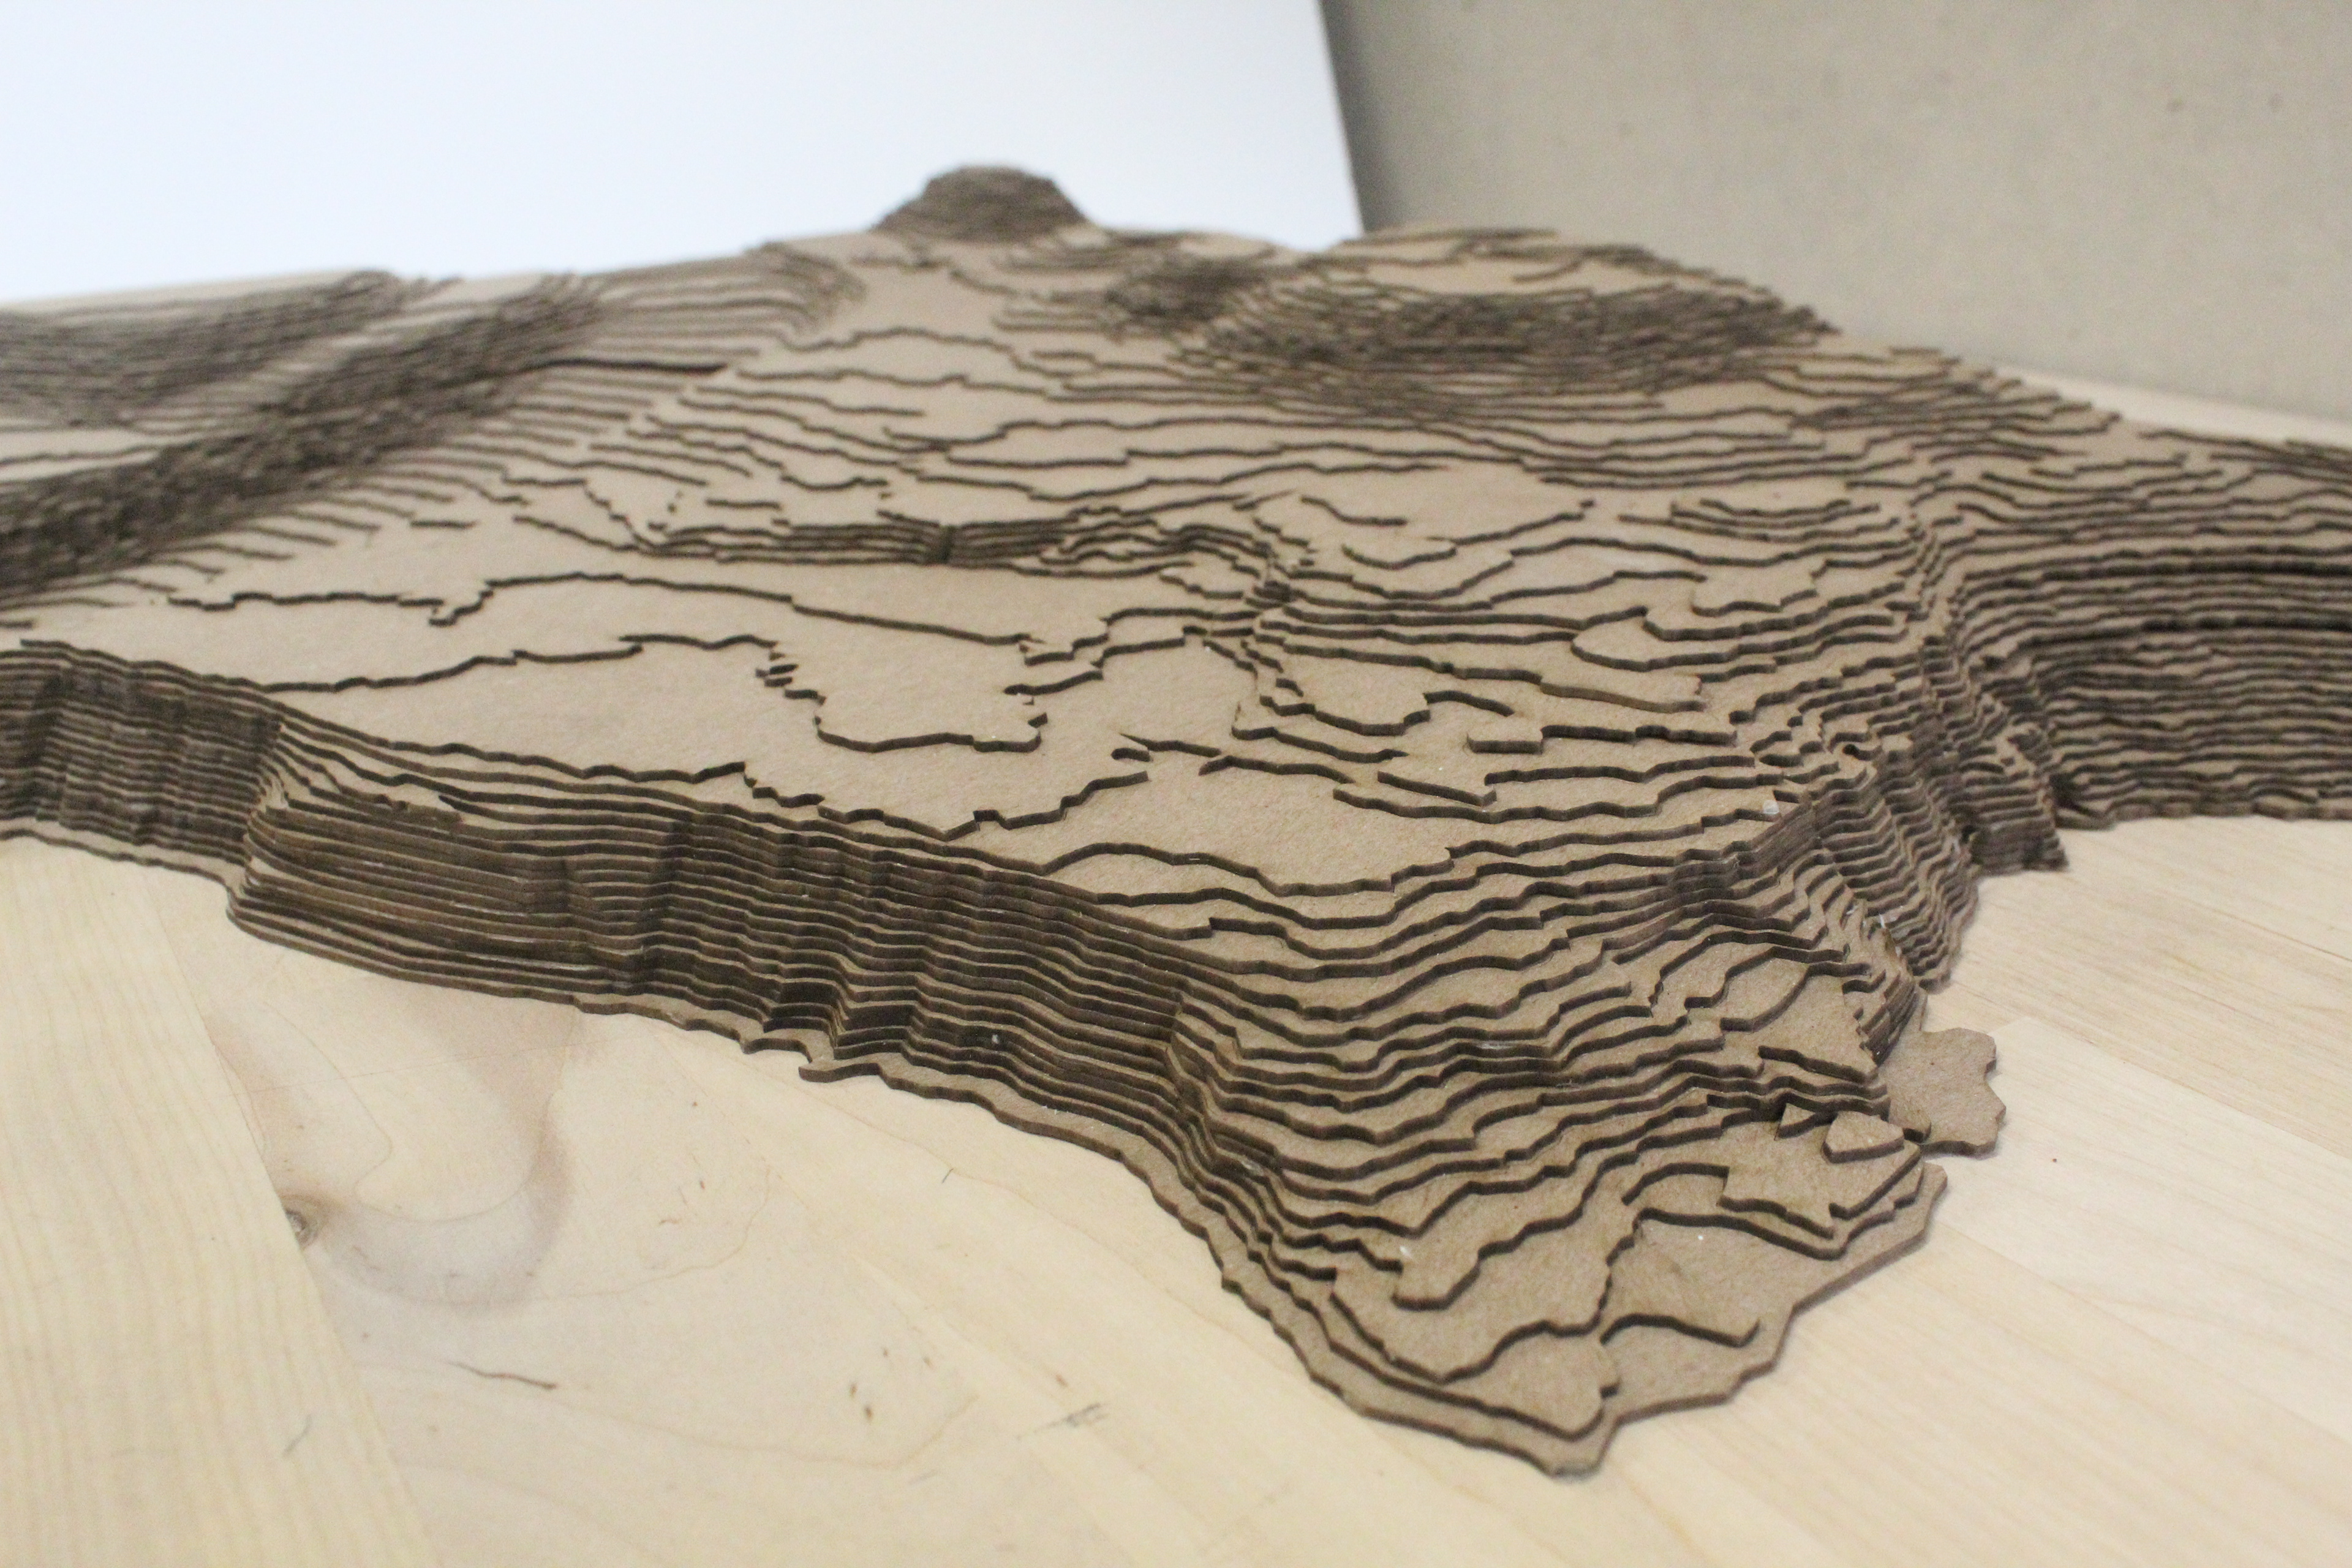
As part of my first 484 studio, two other students and I made our studio's 1/16th scale site model. This model was 8.3 feet (100 inches) long, and 5 2/3 feet (68 inches) wide. It was laser cut from 0.06" chip board into pieces based on the available laser cutting sheet size, and laid out in a grid.
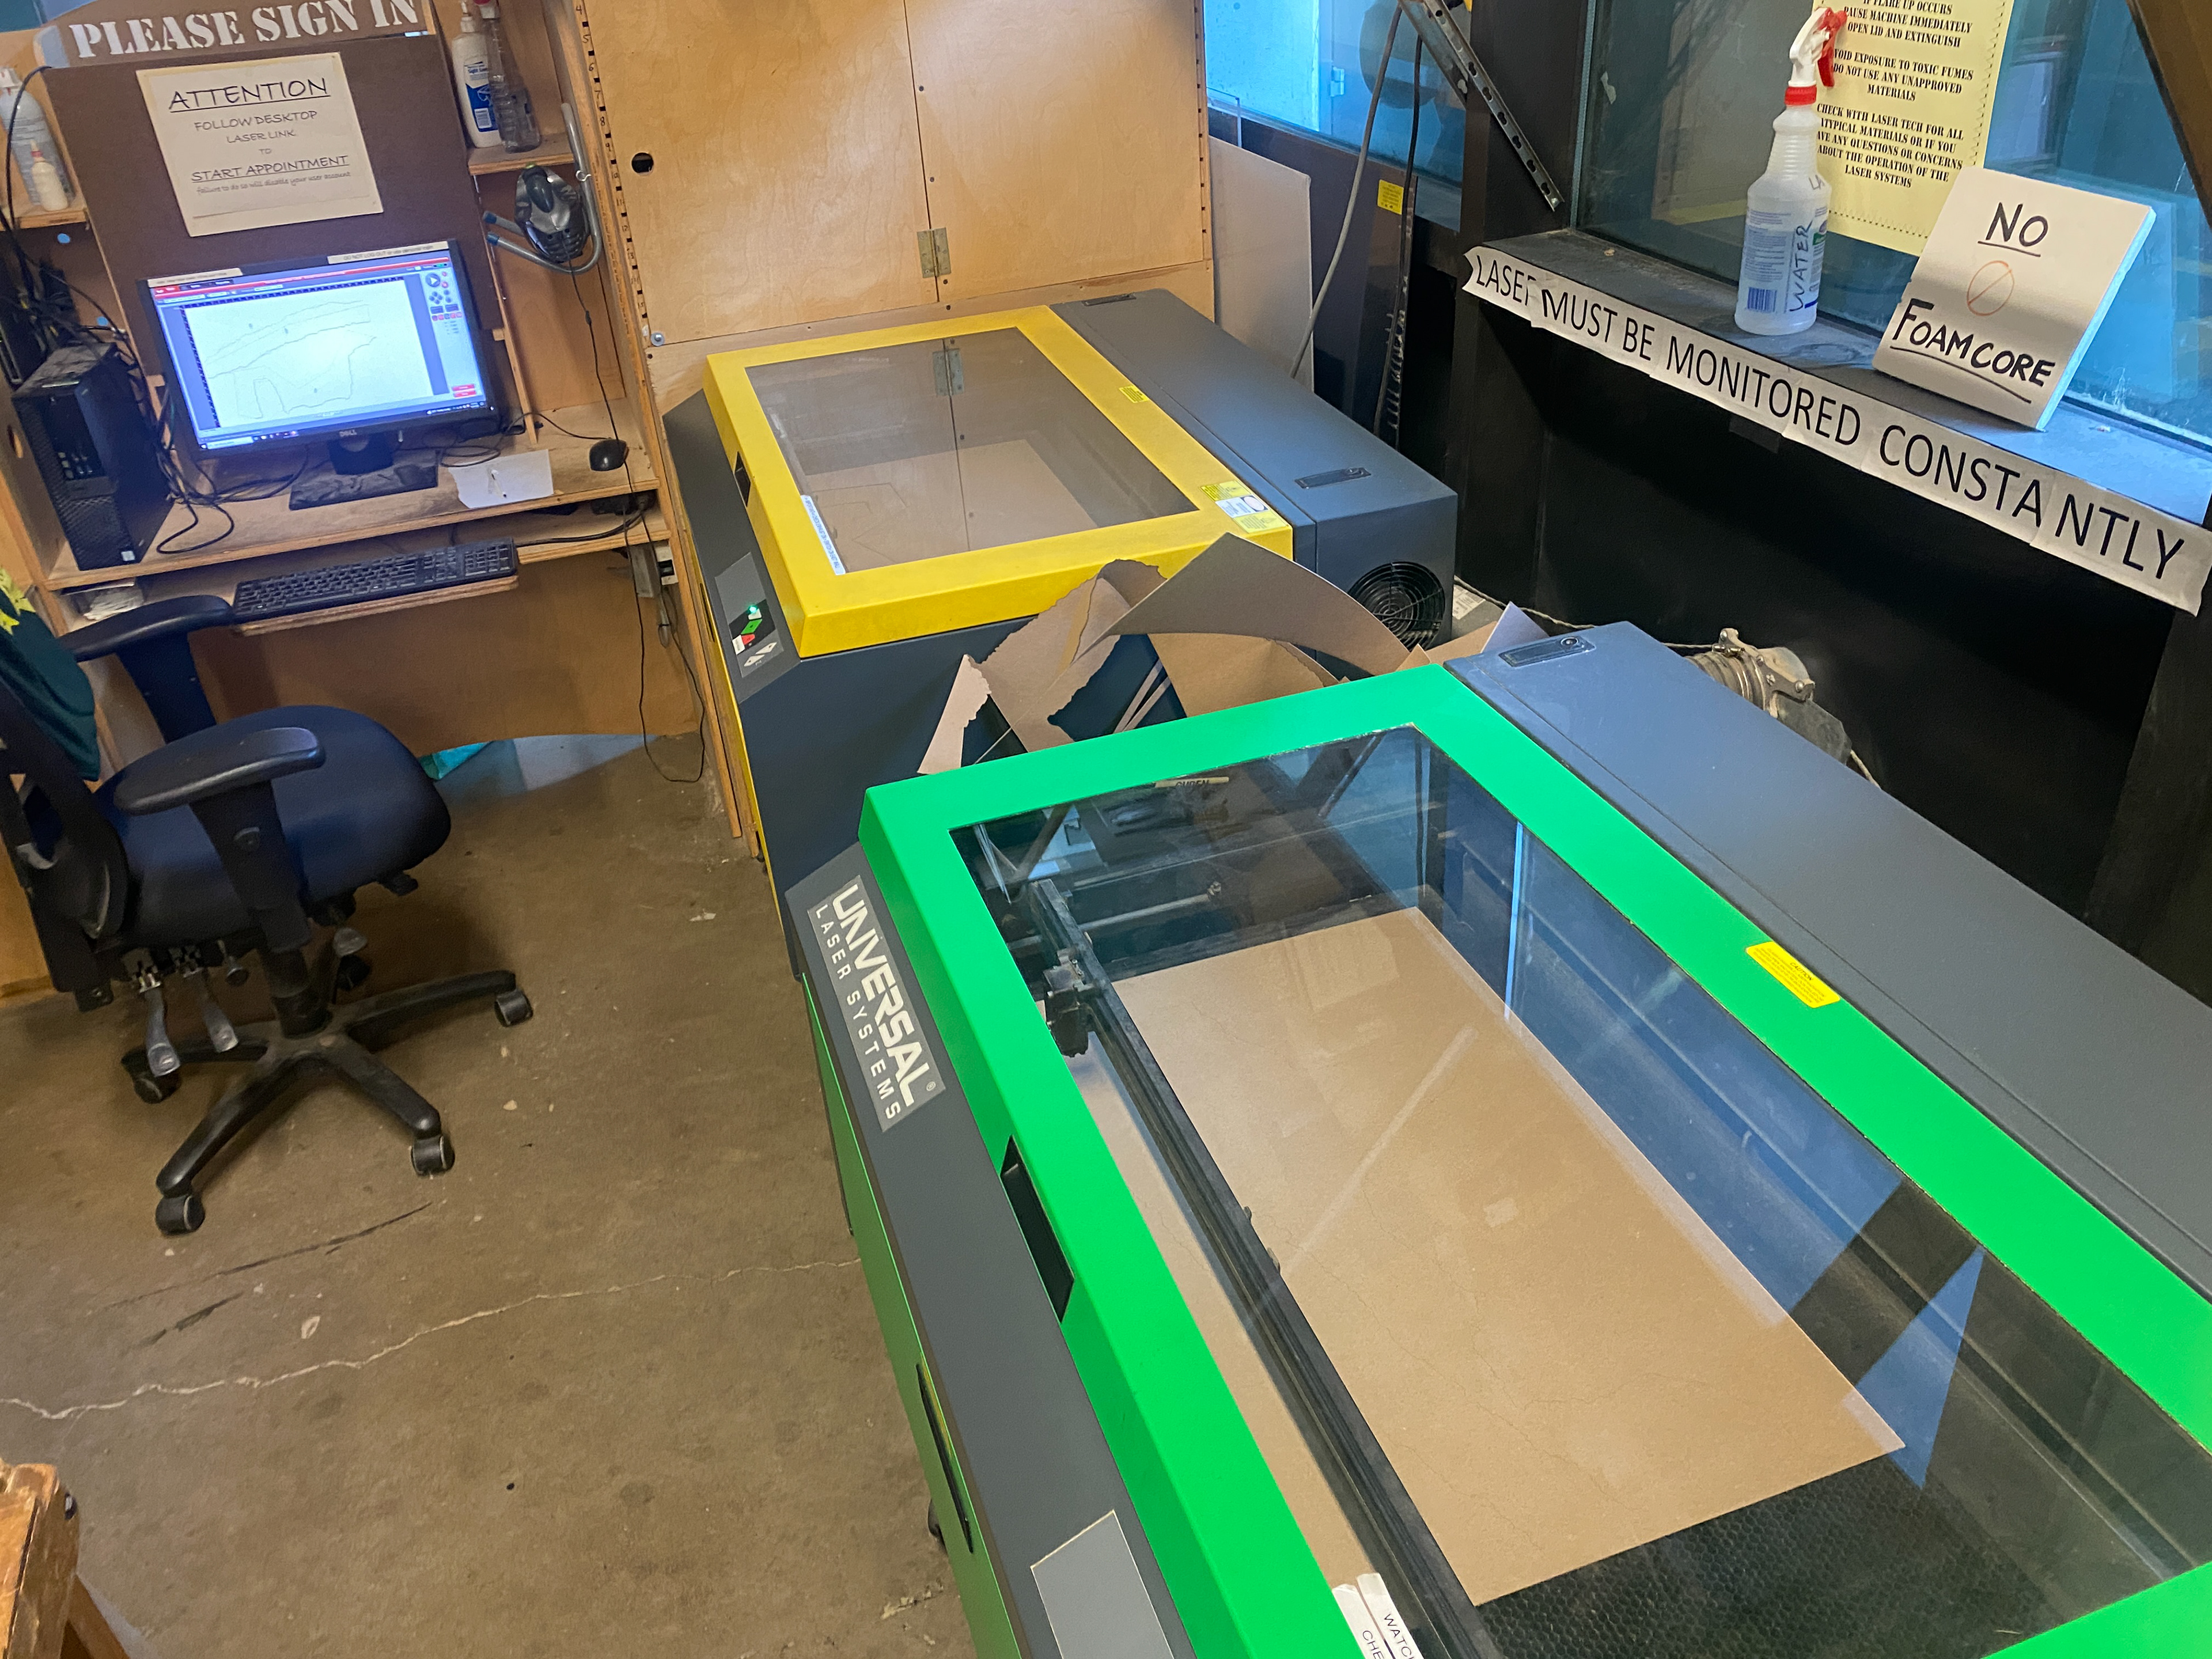
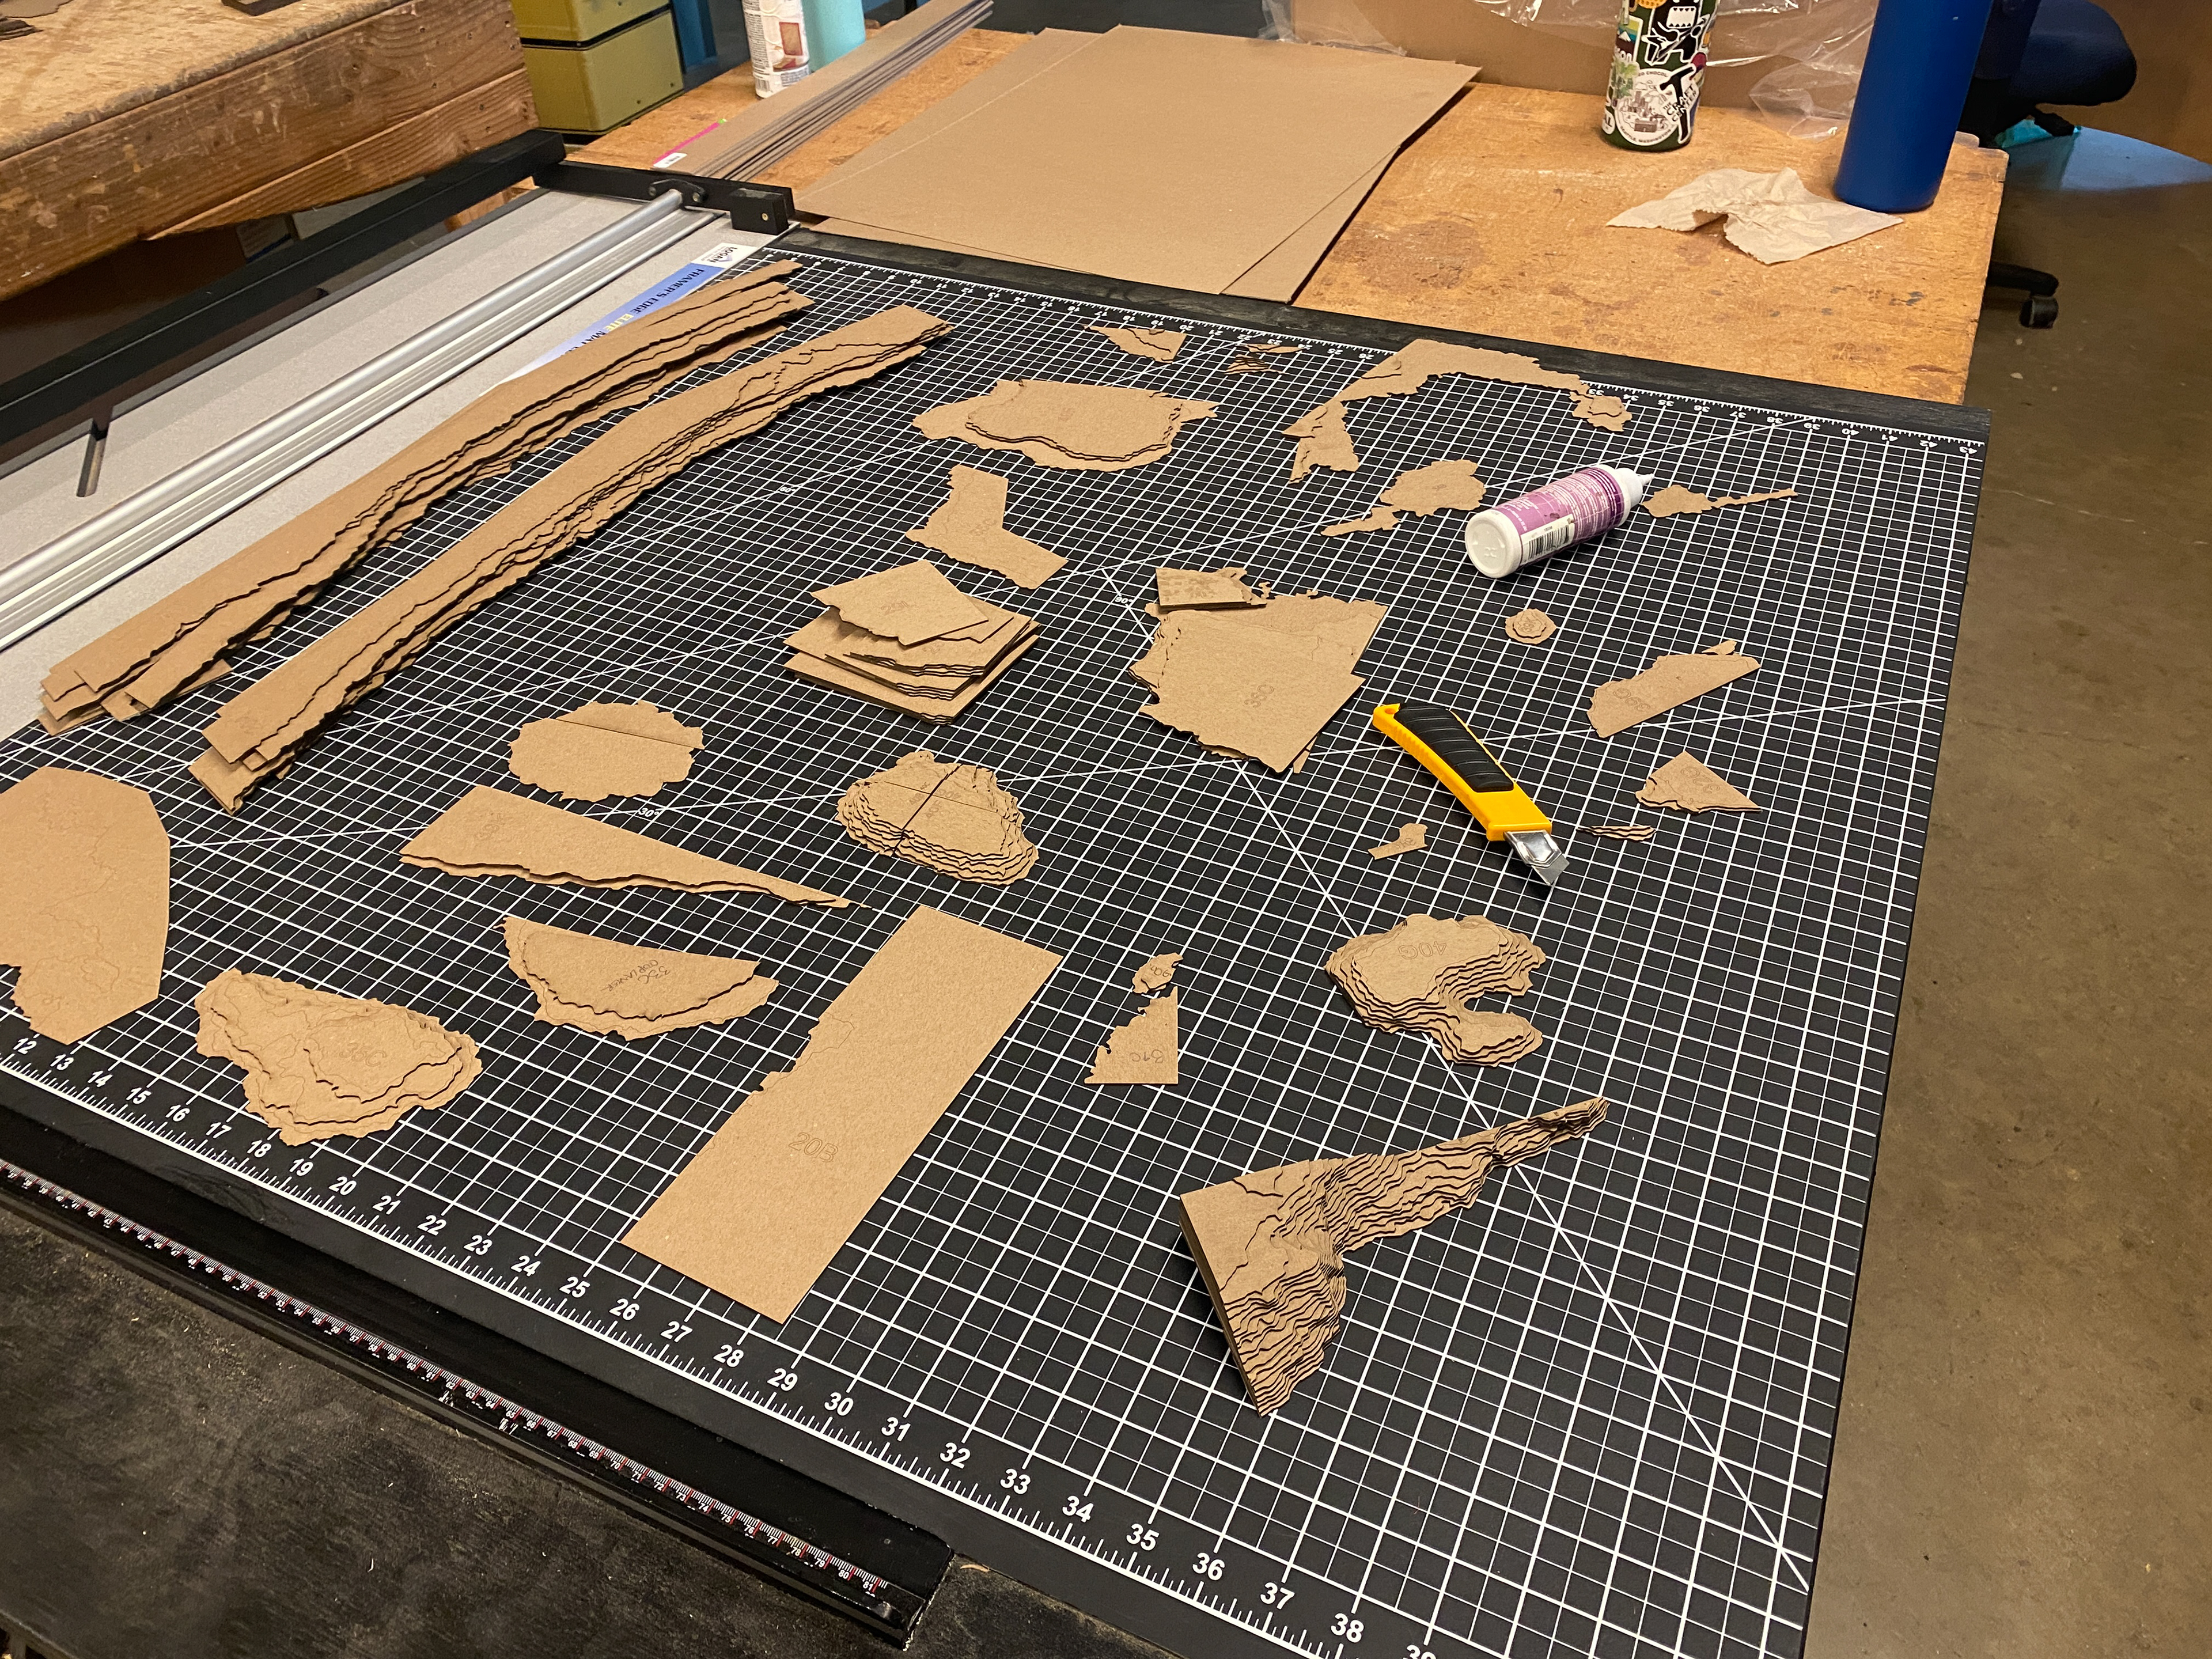
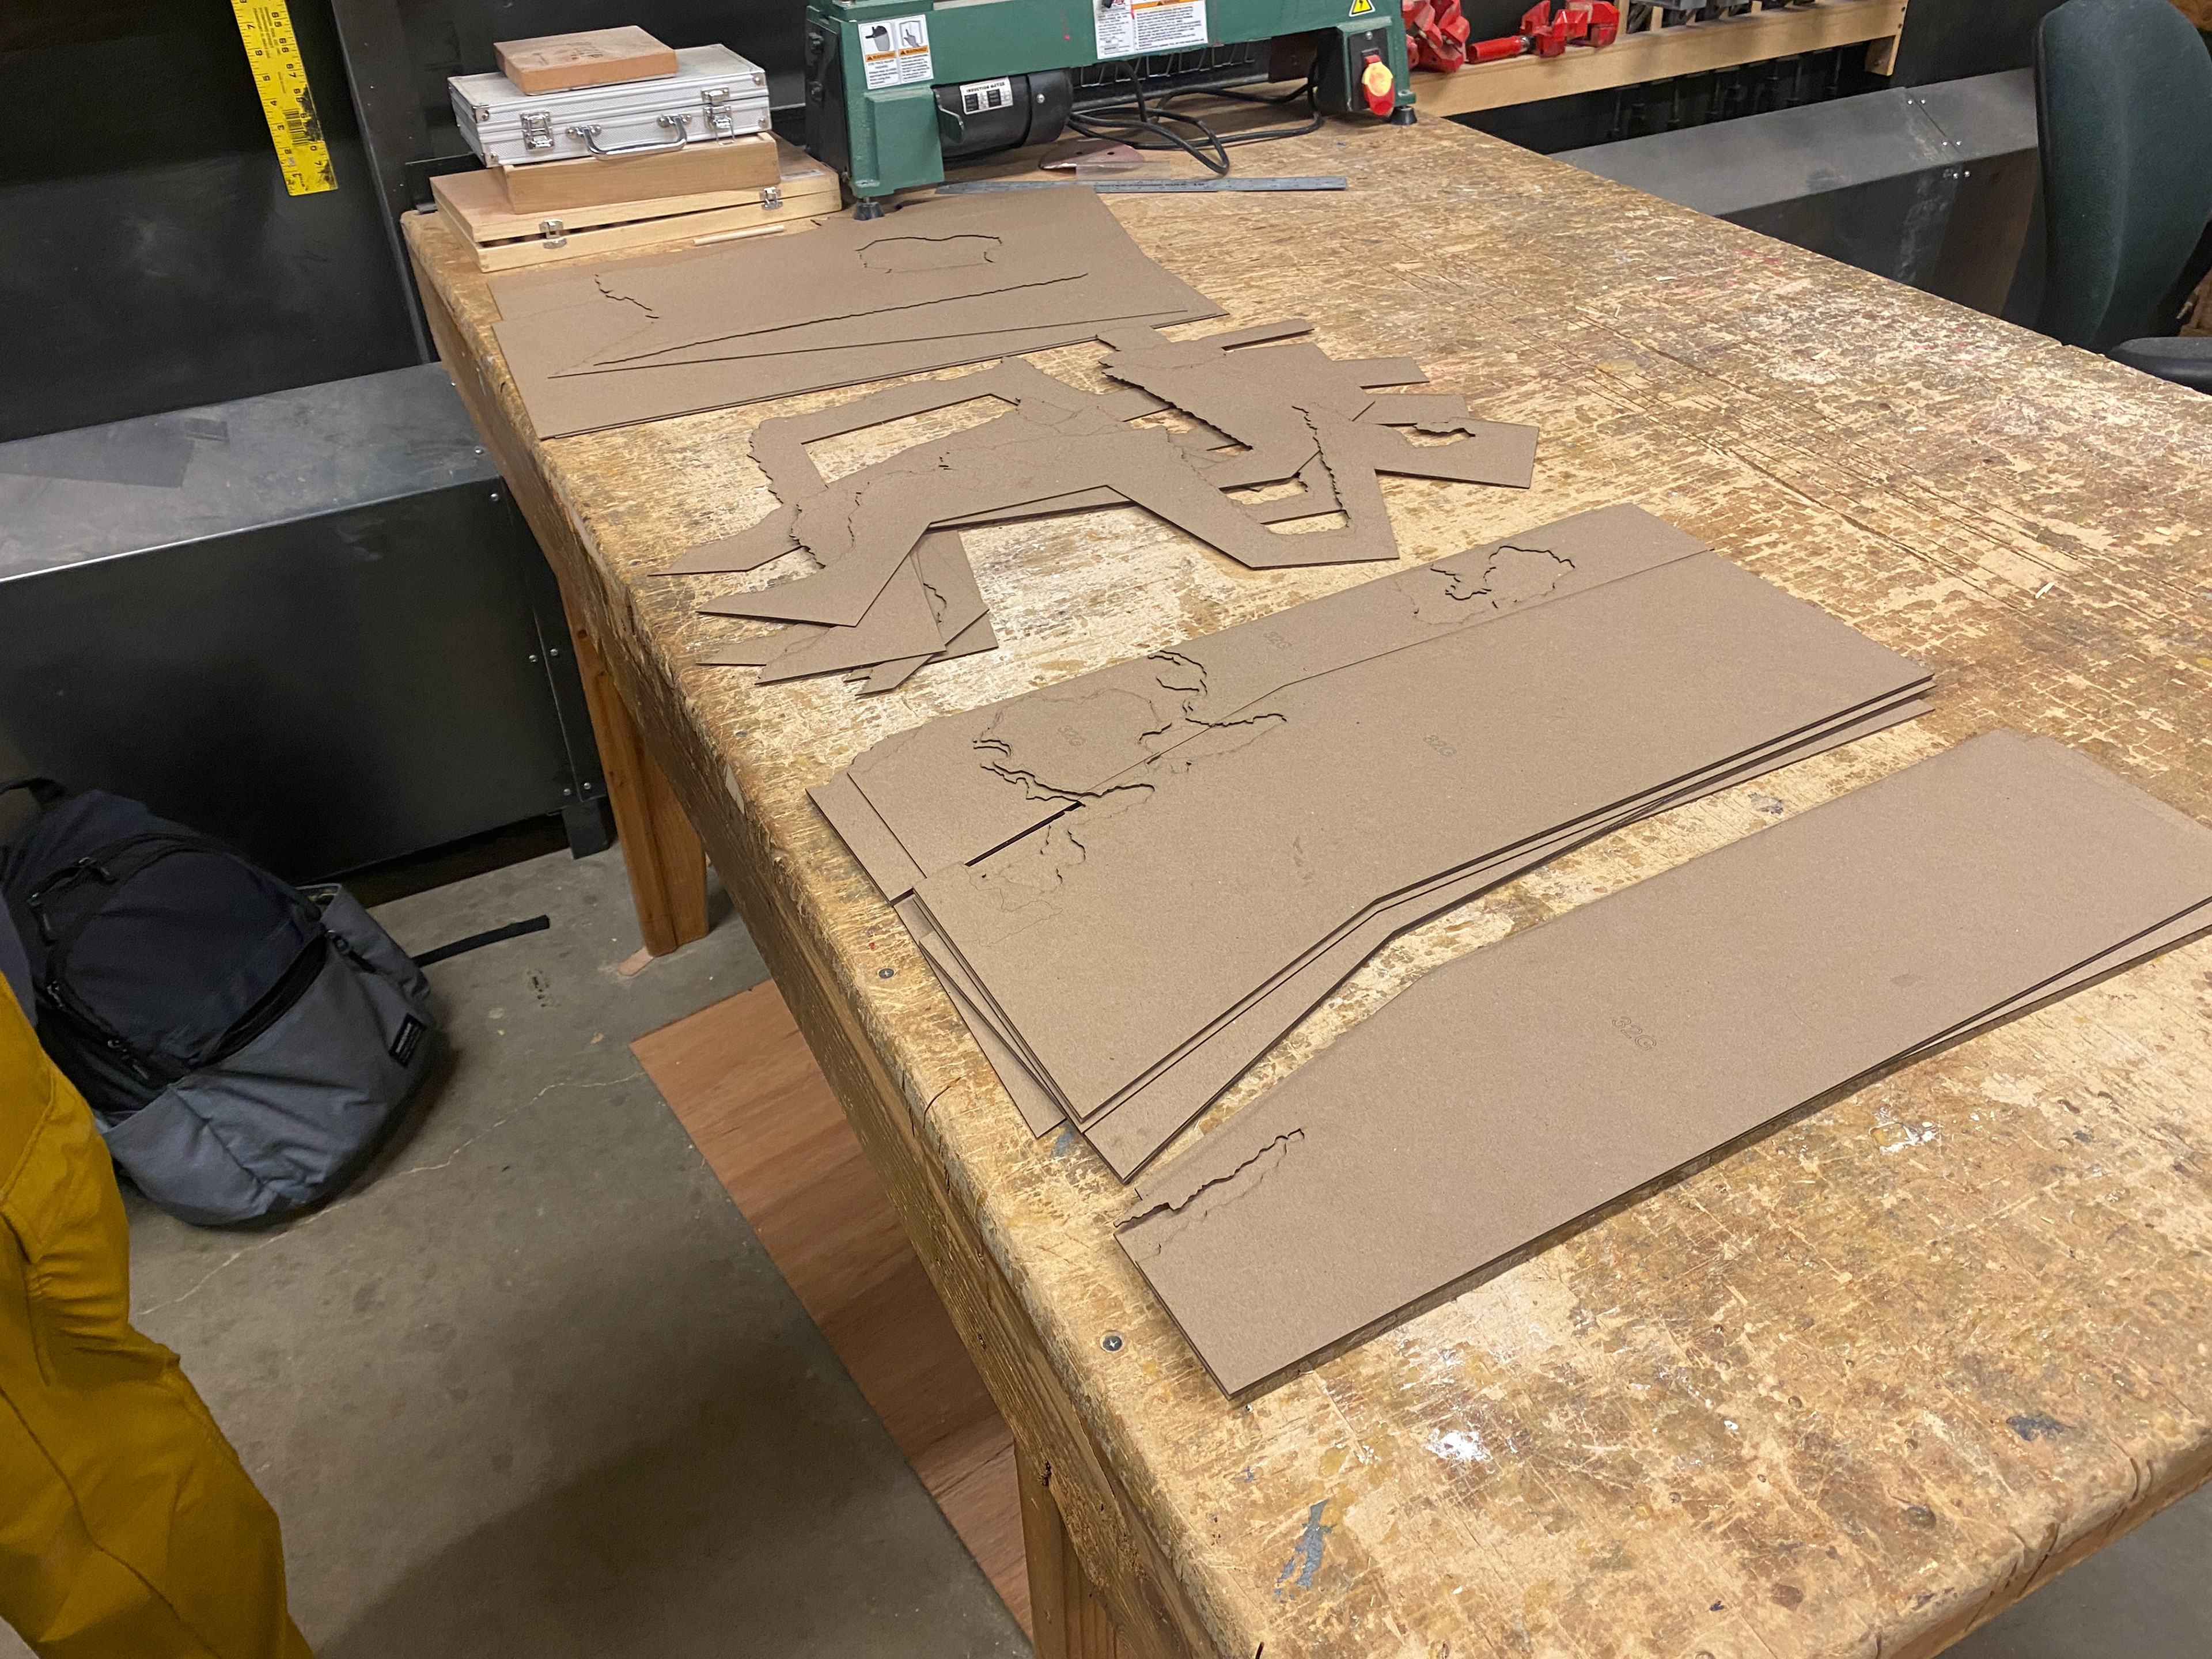
This modeling process involved finding topographic data, converting it to a usable Rhino file, separating out each grid piece, then separating each topographic line to create laser cutting files. Each piece then had to be labeled with a number and letter to correspond with it's layer order and grid position, which was etched on during laser cutting.
Additionally, this model accommodated our studio site's footprint on the model being removed so each individual could put their revised topography into the larger context at final review.
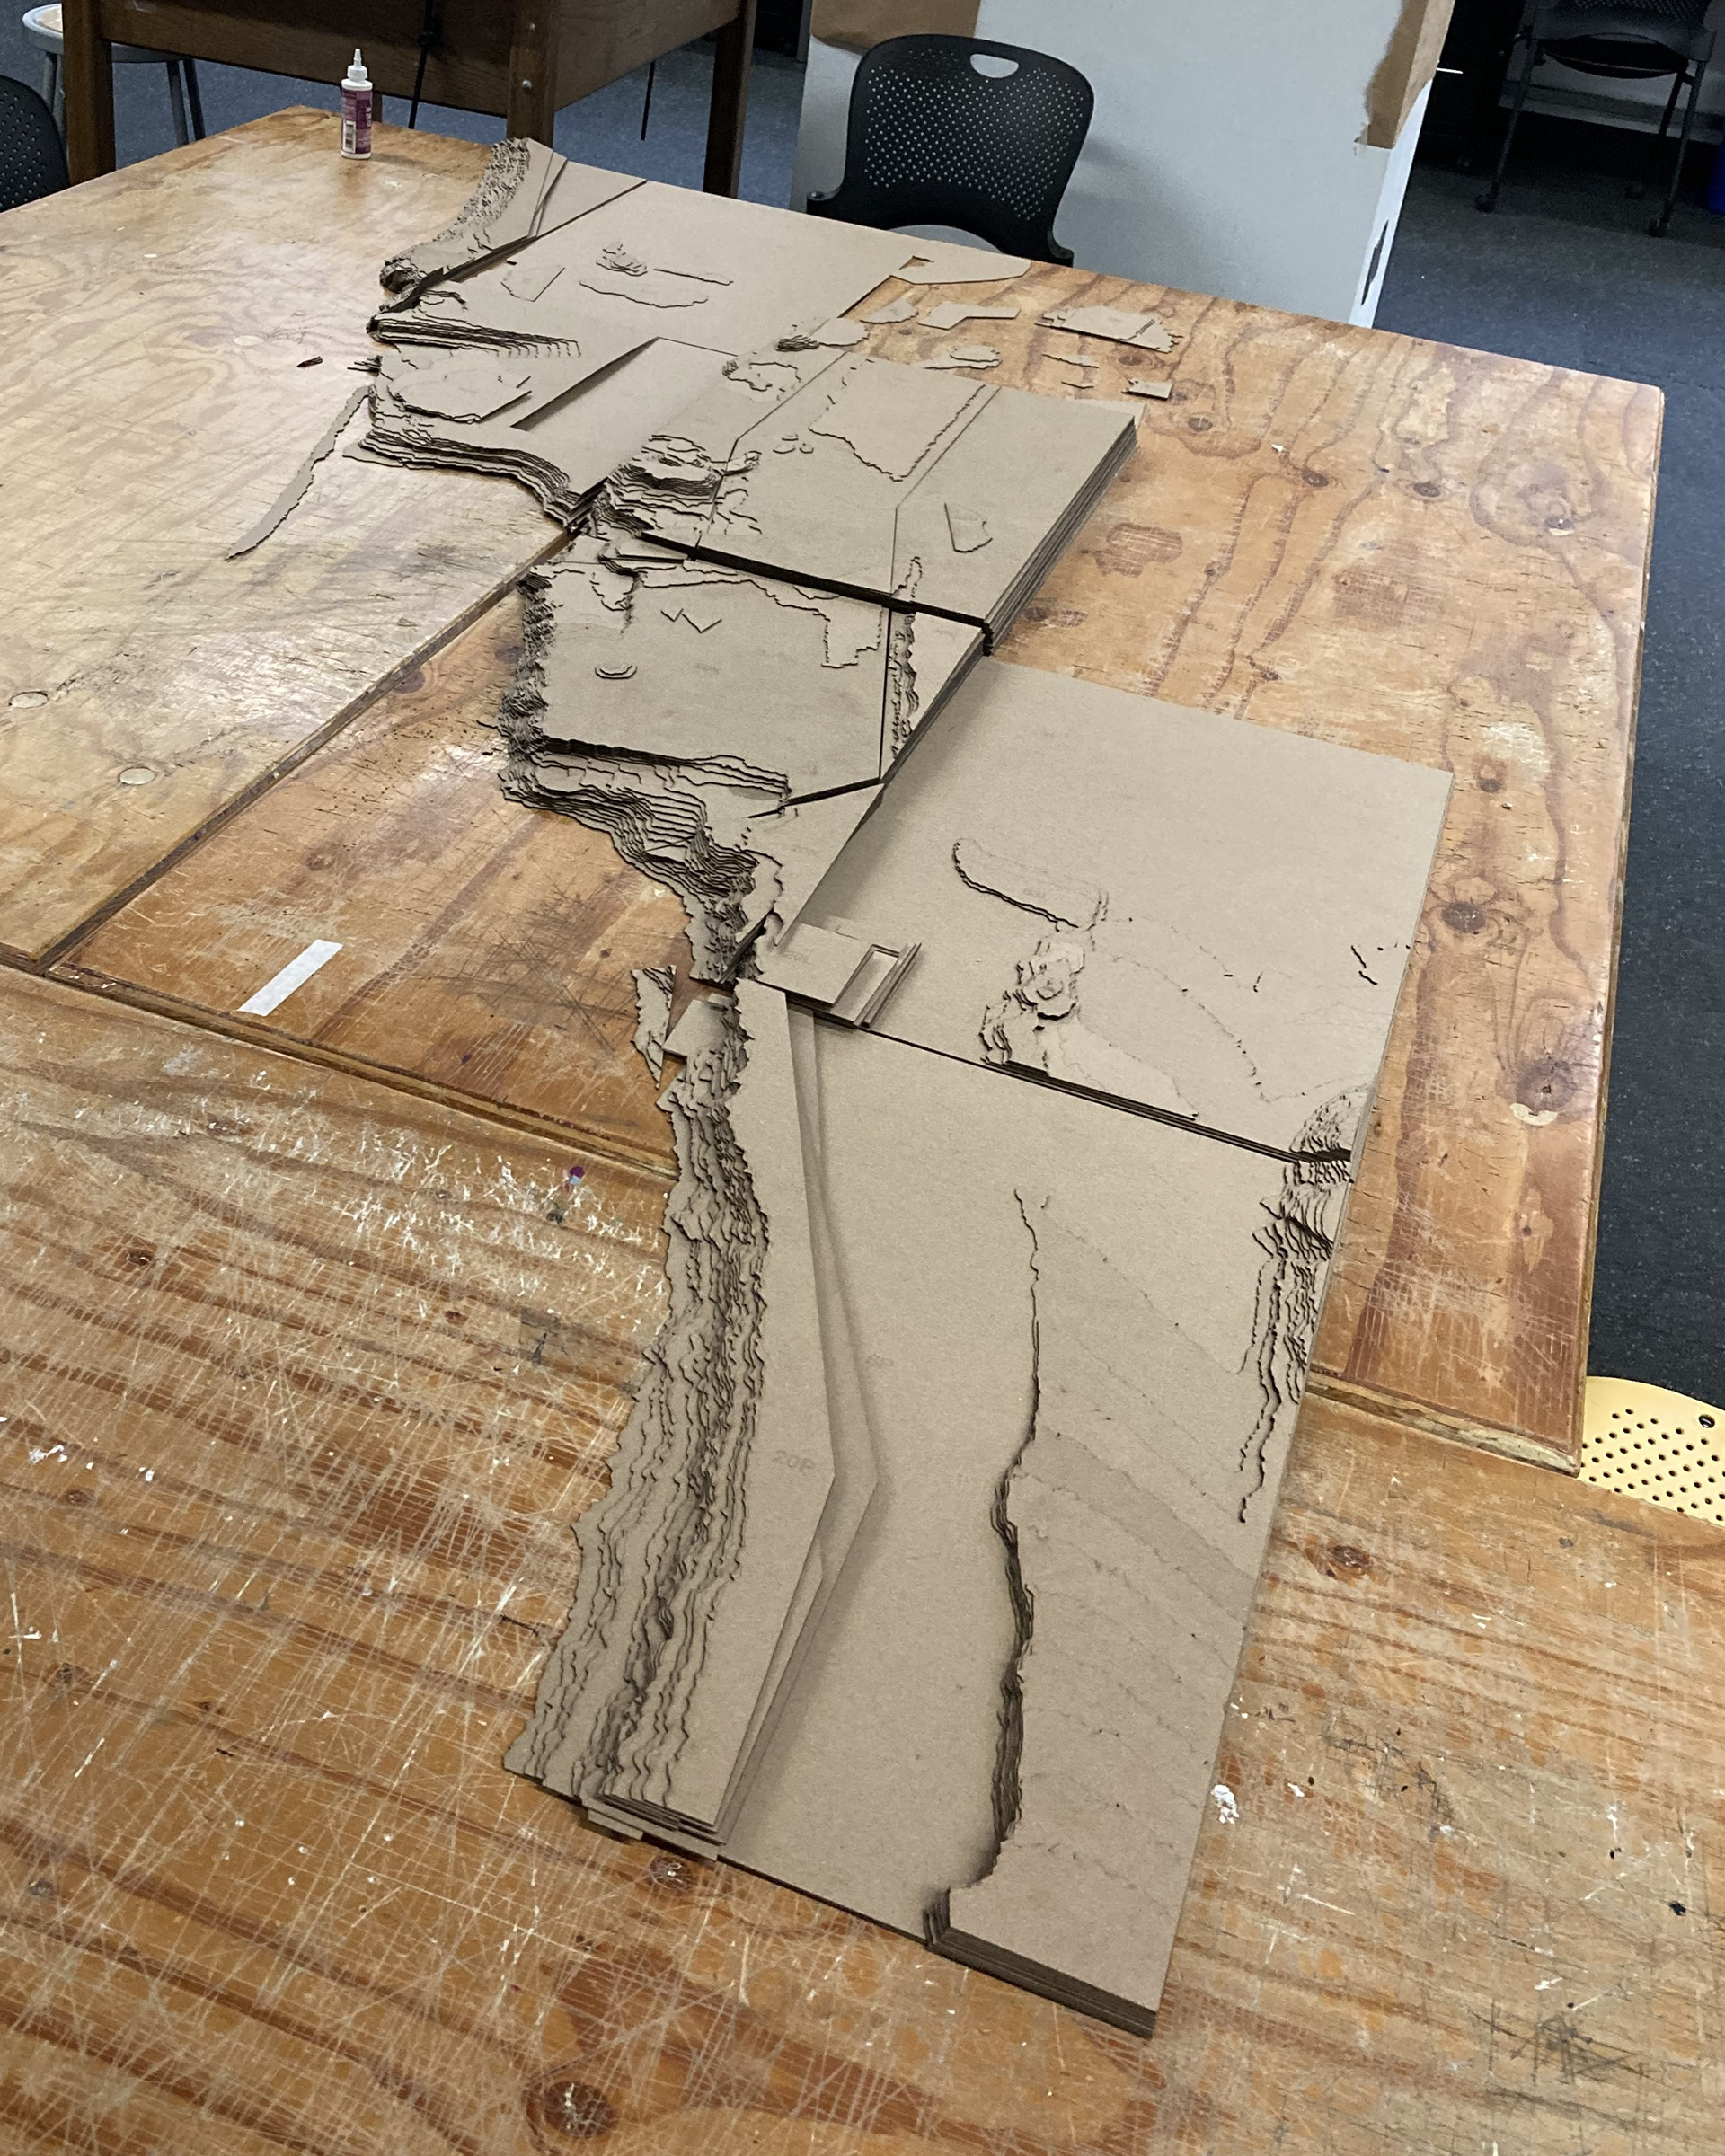
Process Photos
Laser cutting and examples of keeping pieces organized as they were completed
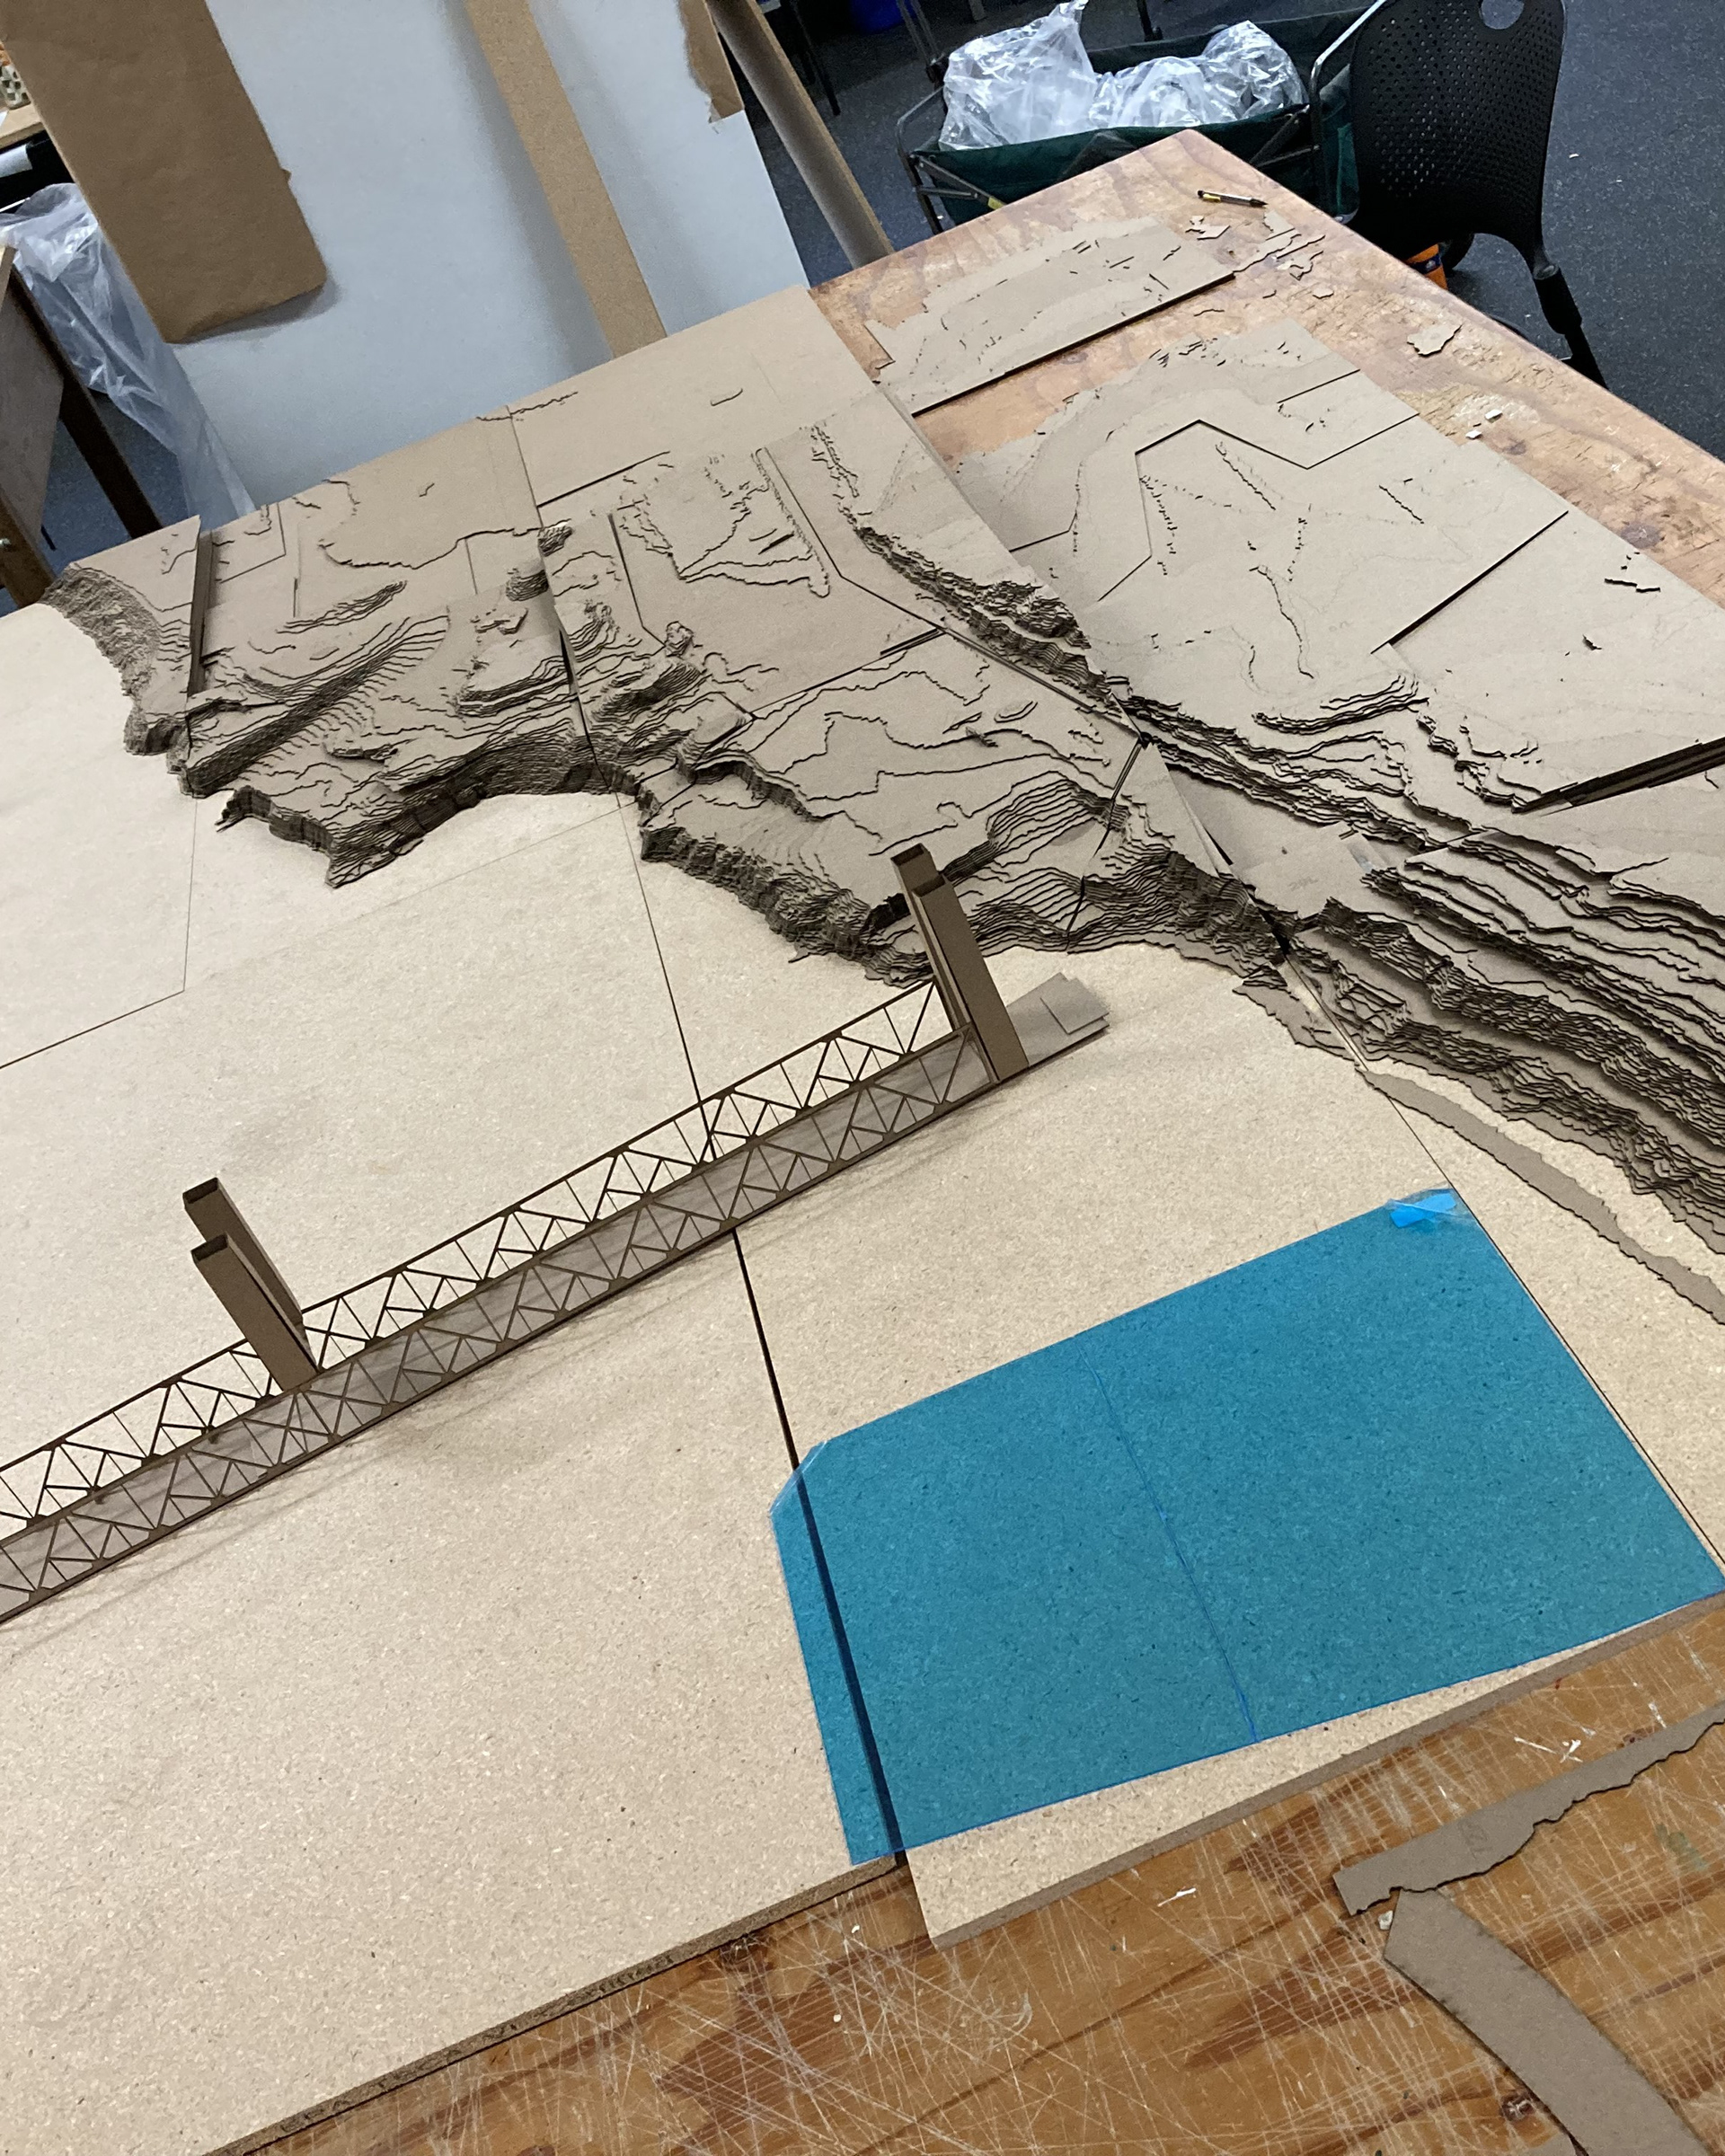
Process Photos
Beginning laying out model on studio tables and initial massing models
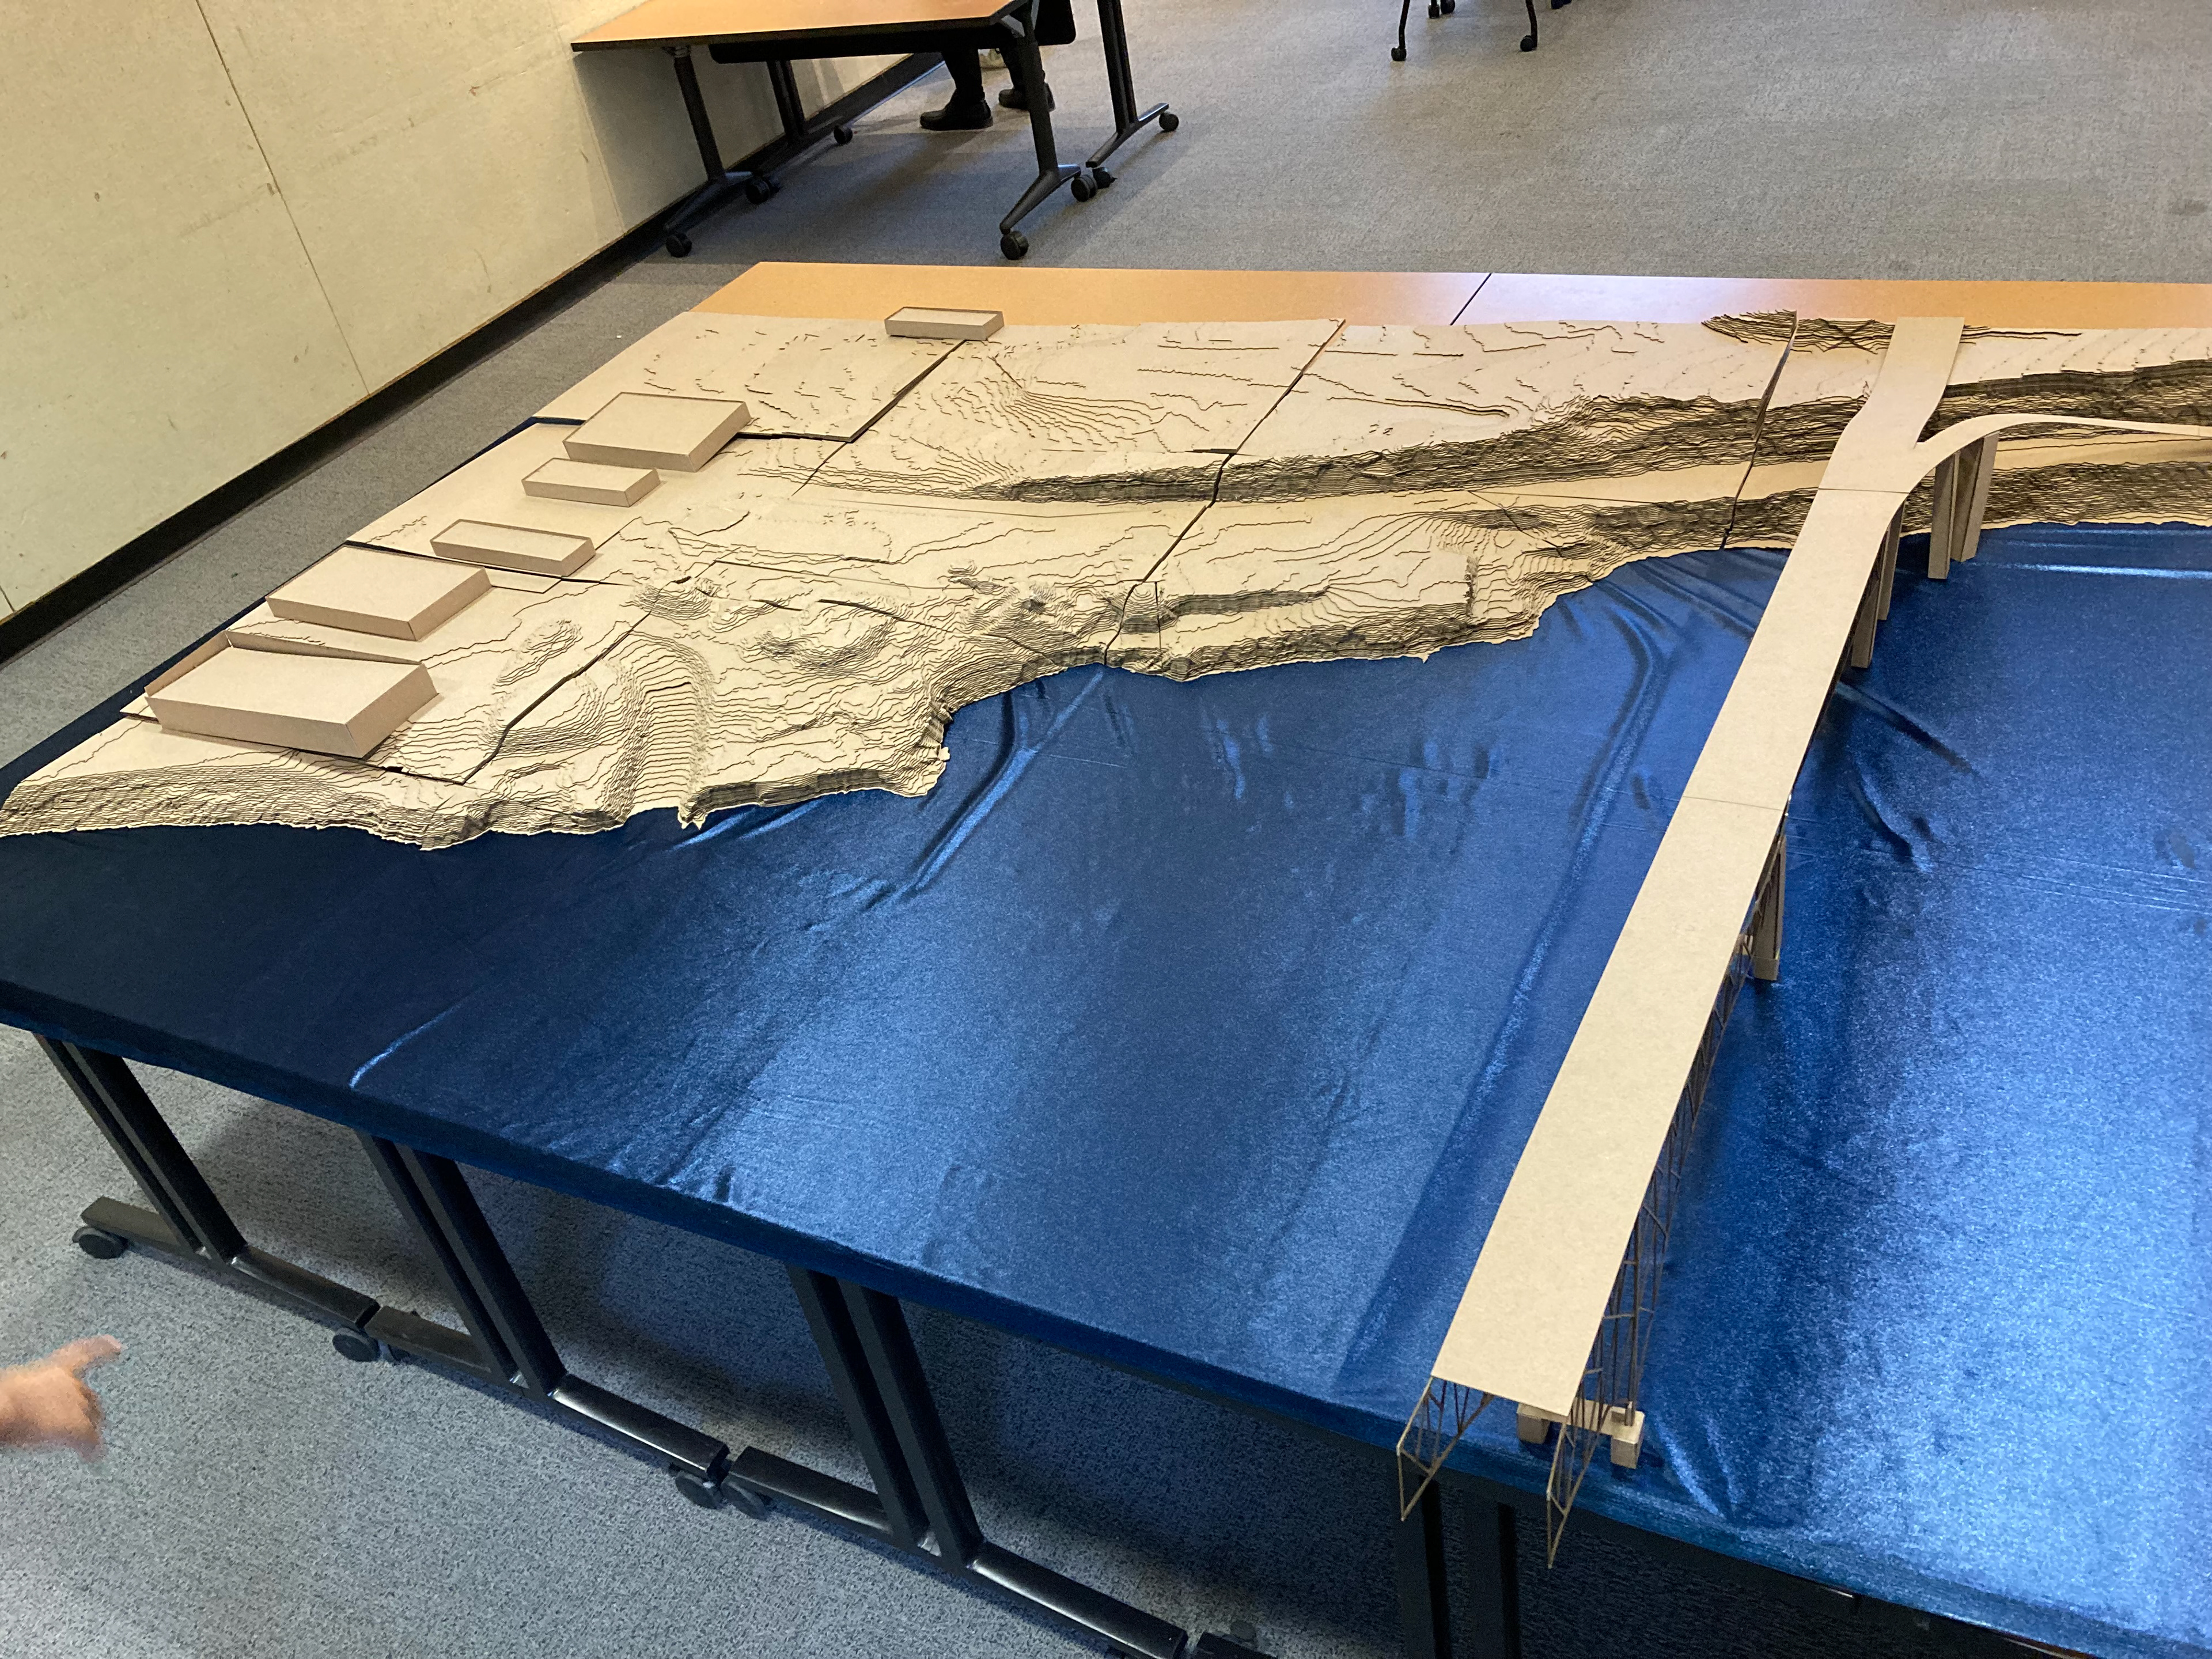
Completed model at final review
Each person in our studio was able to make their own model for the portion which was our site, and during our reviews we places these models into the site model to show our designs in the larger context.
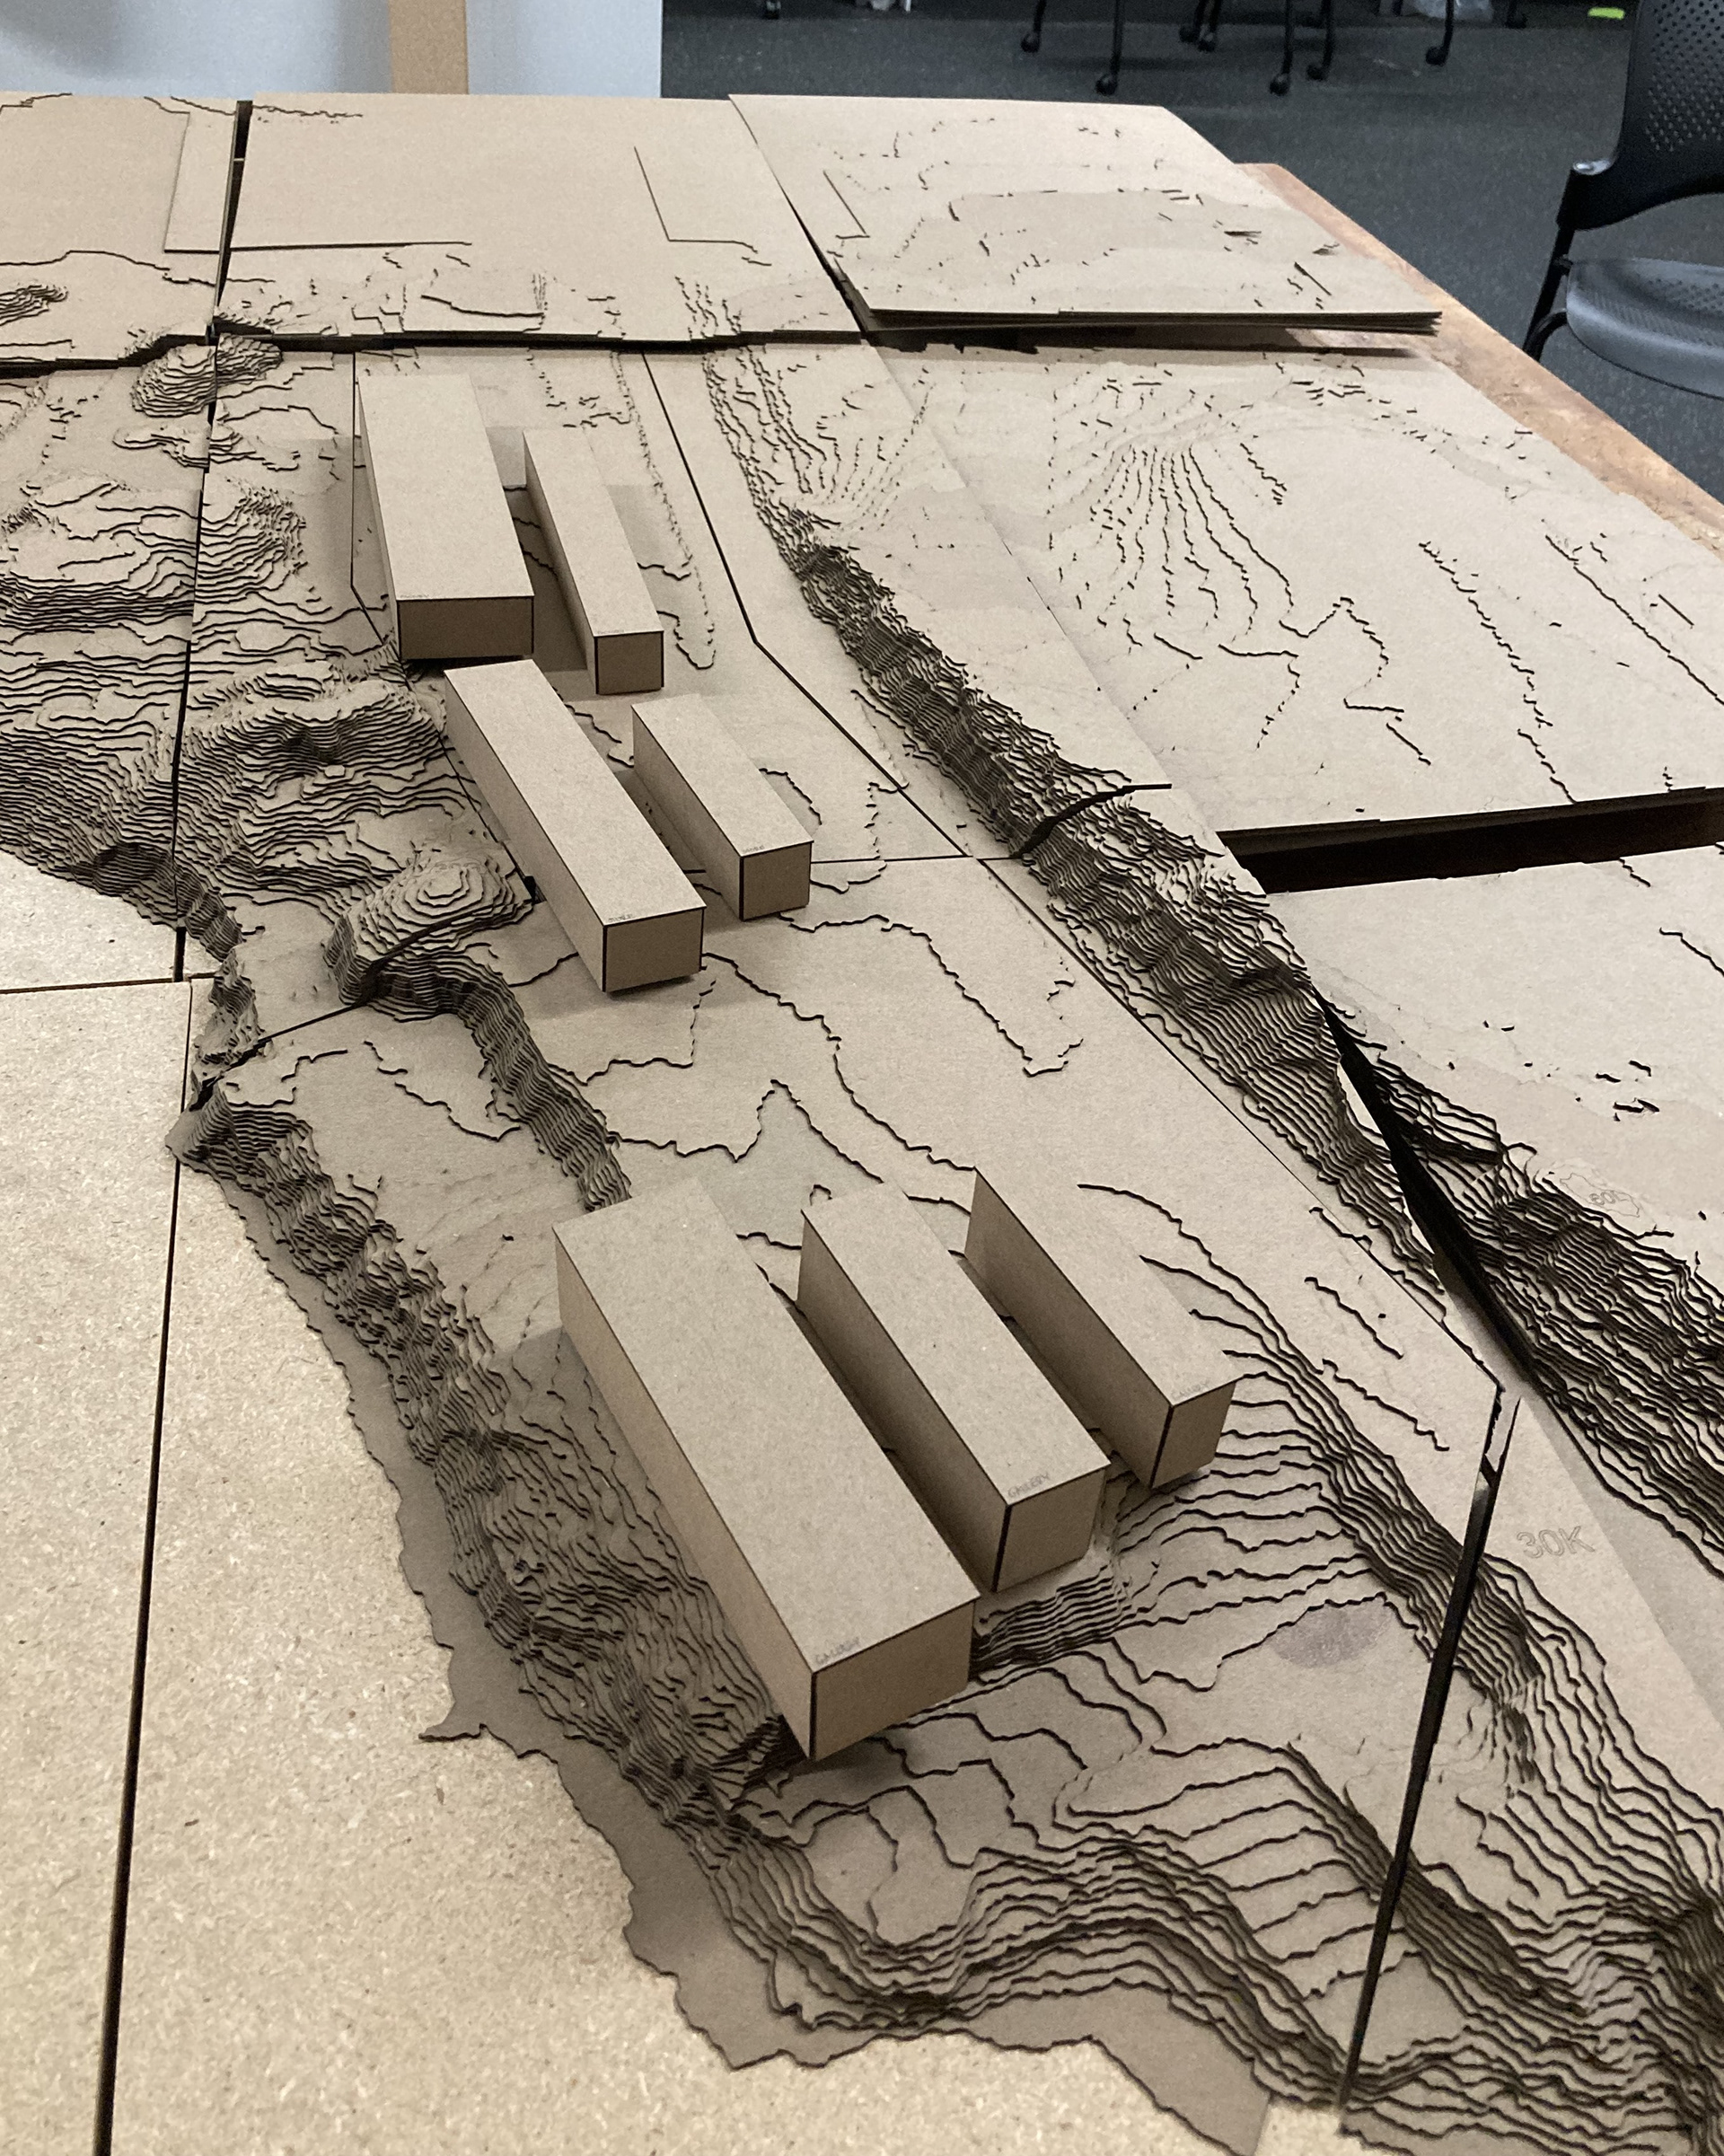
Close-Ups
With Scale